Category

decommission

The first step

By decommission

Where to start when getting into woodworking?

That’s a tricky question because there is no correct answer.  There’s also no wrong answer.  That ambiguity is incredibly freeing, because it means you can start exactly where you are right now.

I frequently respond to the “where do I start” question by giving a list of great options.  Some may be a viable option for you, others not.

  • Clubs and Associations:  The Furniture Society is a great place to start, though there turning clubs, local woodworking chapters, virtual groups, and other specific interests to explore.
  • Monthly Publications: Fine Woodworking Magazine has been the industry standard for the past 25 years.
  • Books: I’m always excited for the new releases by Tauton Press, Blue Hill Press, and Lost Art Press (disclosure: I’m writing a book with Lost Art Press currently about Appalachain Backwoods Chairmaking).
  • YouTube: It’s a mixed bag.  There’s a mountain of good information available, as well as dangerous practices and unsound techniques.  I like knowing the video is produced by a sound source and/or a considerate, experienced maker.
  • Classes:  This is where we come in.  We offer opportunities to expand your skills but we’re not the only ones around.  Greg Pennington offers Windsor chair making classes in Hendersonville, TN.  The John C Campbell Folk School in Brasstown, NC, always has an impressive catalog of classes.  Arrowmont (Gatlinburg, TN) is an inspiring place to take a class at the base of the Smokey Mountains.  Then there’s the Little Miami Handworks in Southwest Ohio.

With regards to classes at Pine Croft, it’s my intention to offer a range of classes (both project and skills based) that both challenge and support our students.  I intend to continue scheduling renowned instructors and upcoming younger makers, in hopes of adding variety and interest.

These classes can seem intimidating, especially for beginners.  While it may seem scary to sign up to make your first chair or cut your first dovetail, our classes are designed to support your initial efforts.  The classes are designed to challenge a seasoned maker as well as a beginner, while providing everyone the space and support needed to acquire new skills.

Please consider any class we offer.  If it requires advanced skills, I will note it in the class description.  Start with a class that looks interesting to you and expand your skills from there.

I have added a “place to start” class into our offerings for those of you who want a broad woodworking education as your foundation.  It’s our “Introduction to Woodworking” class and I plan on running it again this October.  It’s a six day class, roughly broken into daily topics: hand tools (day 1), common power tools and machinery (day 2), sharpening (day 3), wood turning (day 4), and we finish the week making a dovetailed keepsake box.

Again, my advice is to start with something that interests you.  Maybe I’ll see you in October at Pine Croft if the “Intro” class sounds interesting.

As always, please send me thoughts and questions about our classes.  I am excited to talk woodworking.  My email: glenna@berea.edu

Warmly, Andy Glenn

Class Spotlight: Modern Chair with Dawson Moore

By decommission

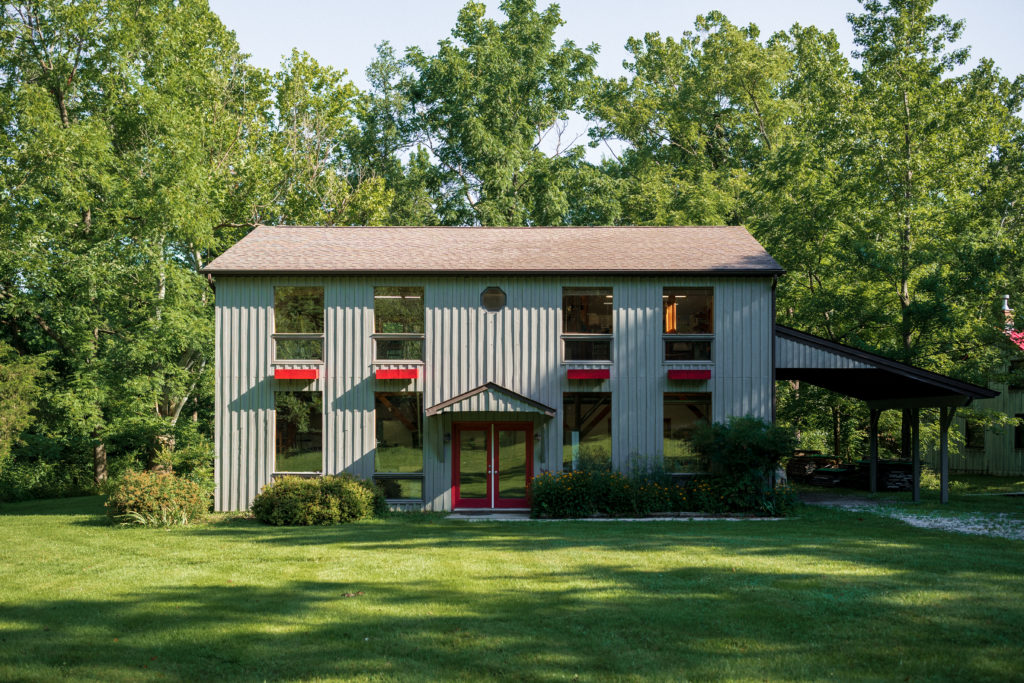
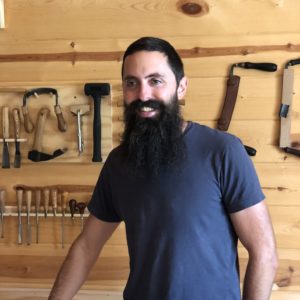
I’m excited to welcome Dawson Moore to Berea next spring over April 25-29 for his modern ladder back chair class.  I’ve followed his work for the past few years (you can follow his craft on Instagram @michigansloyd).   I jumped at the chance to work with him at Pine Croft.

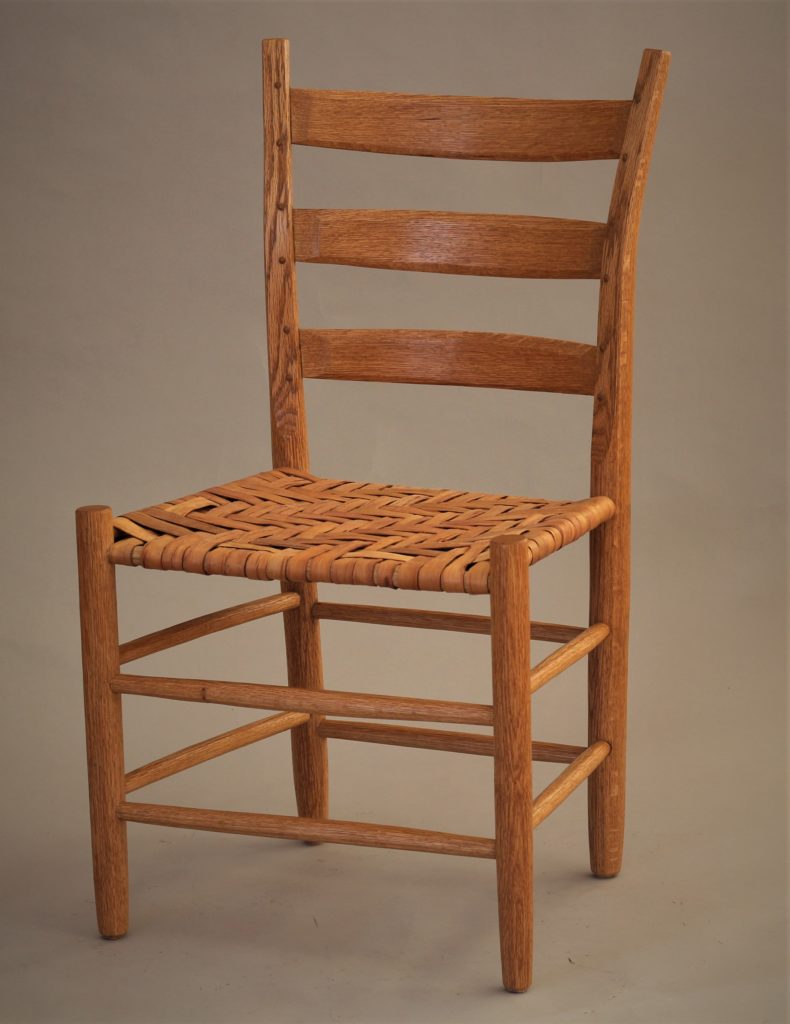
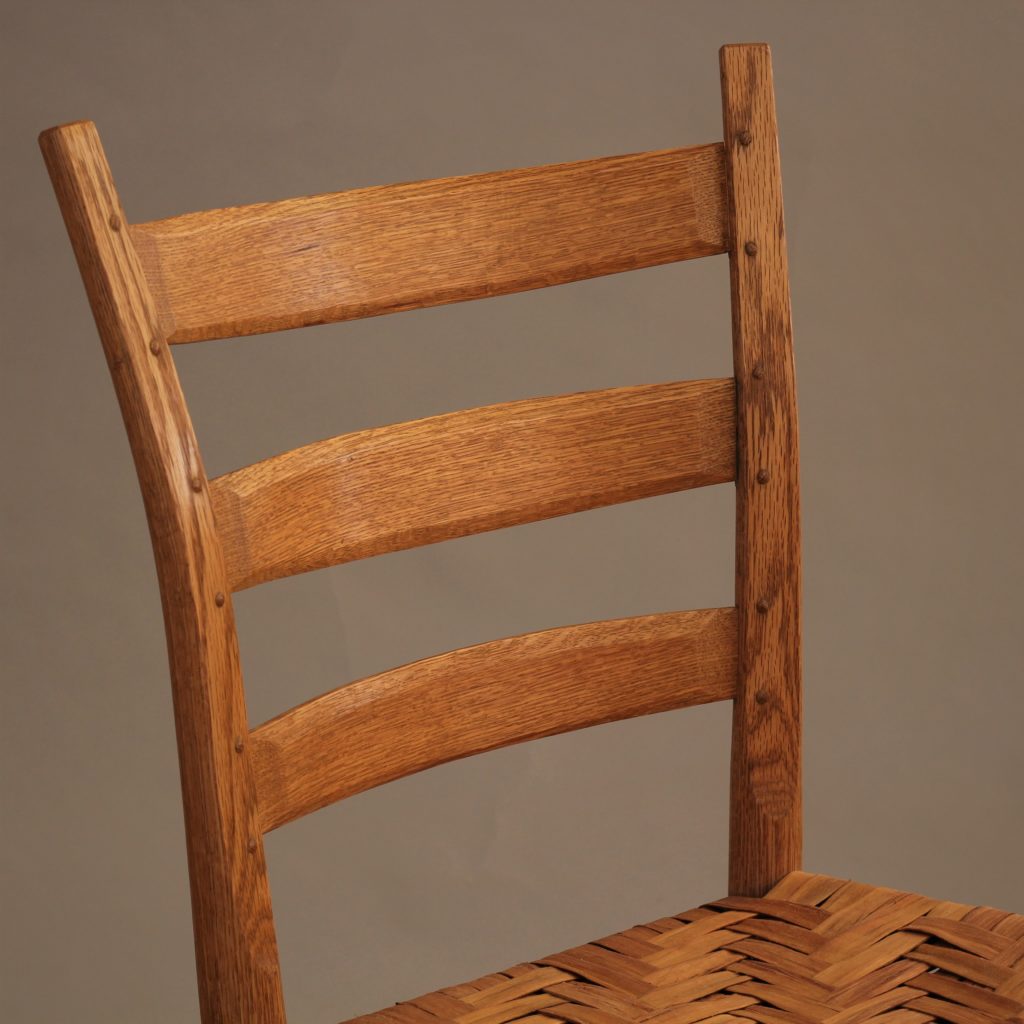
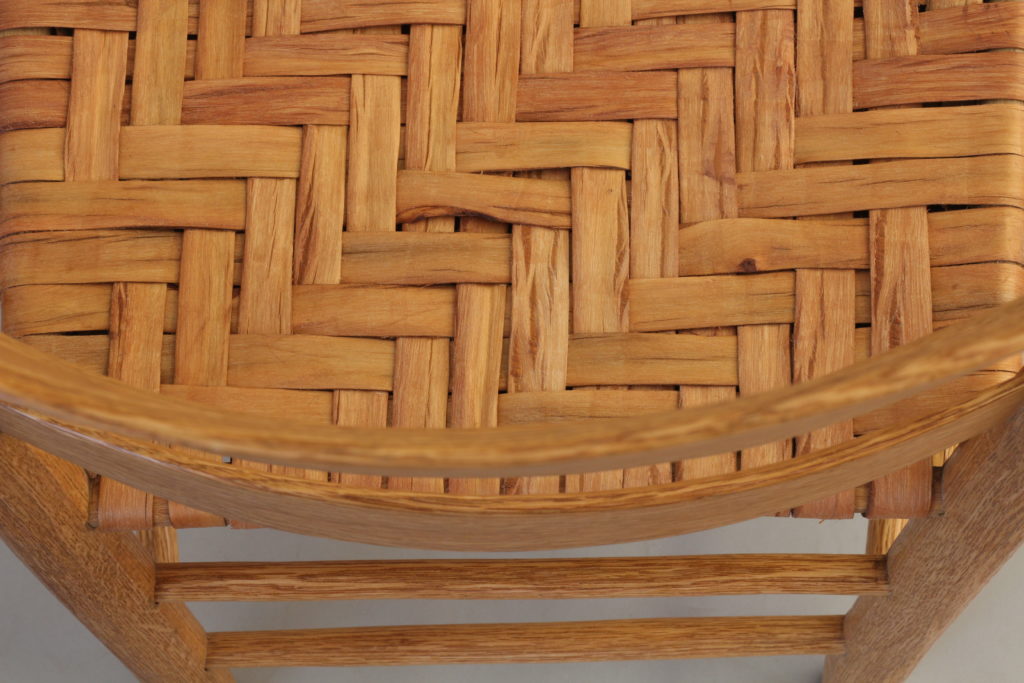
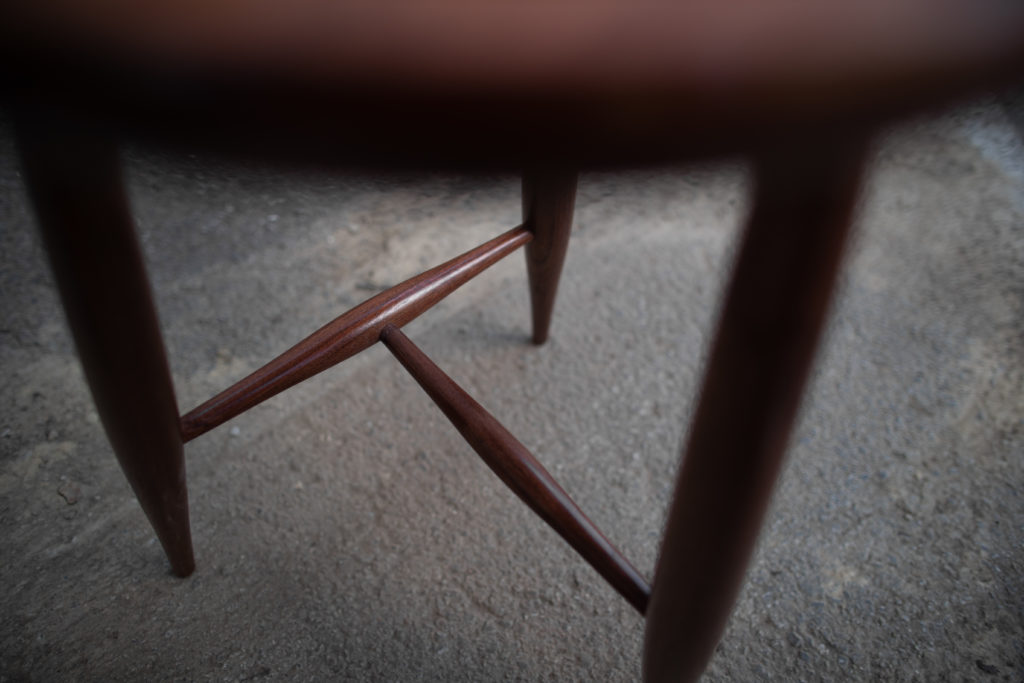
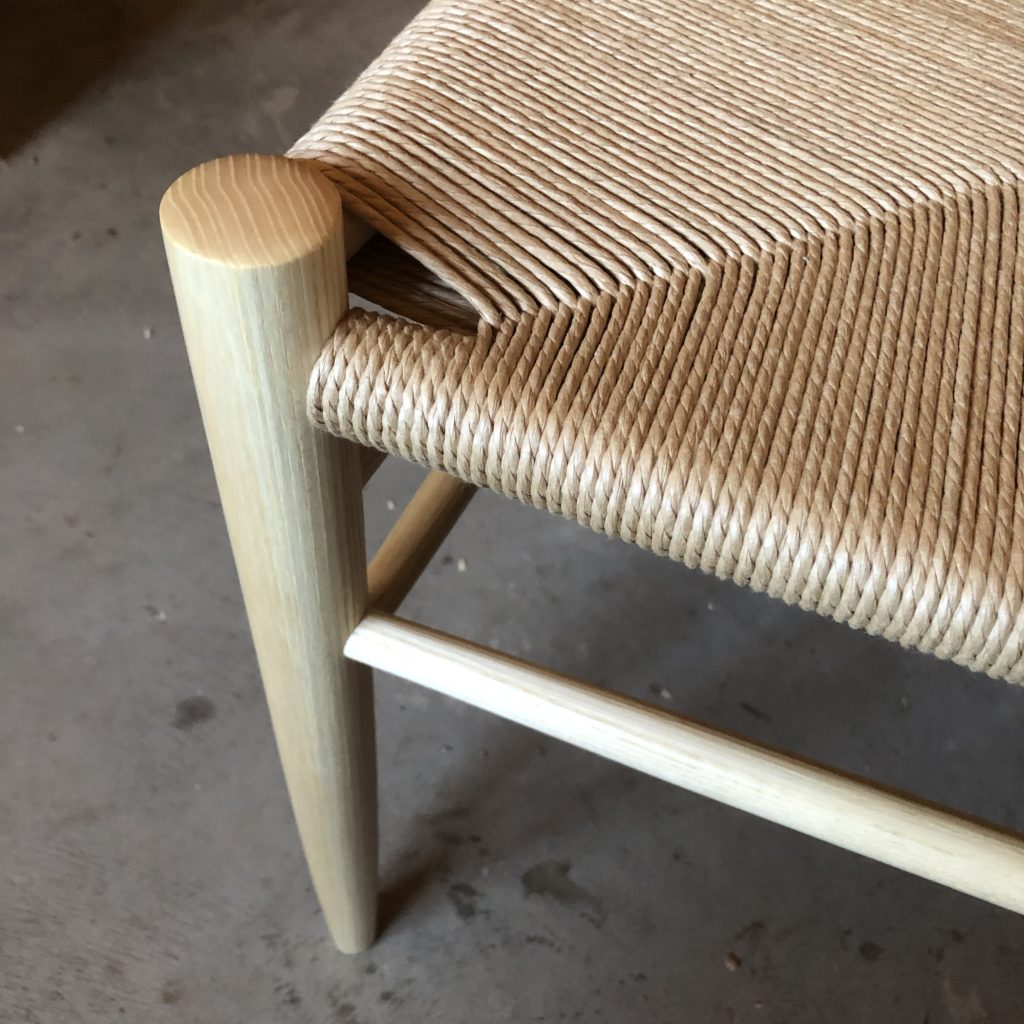
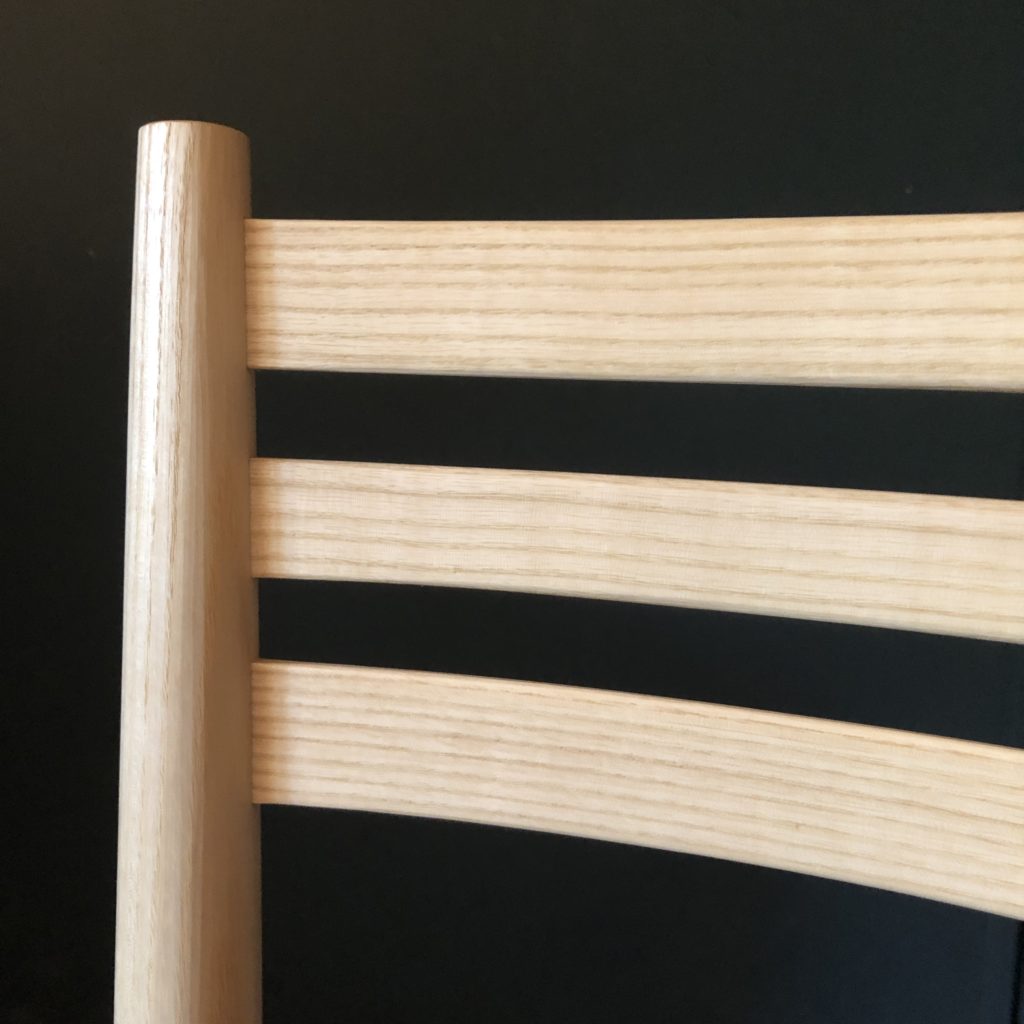
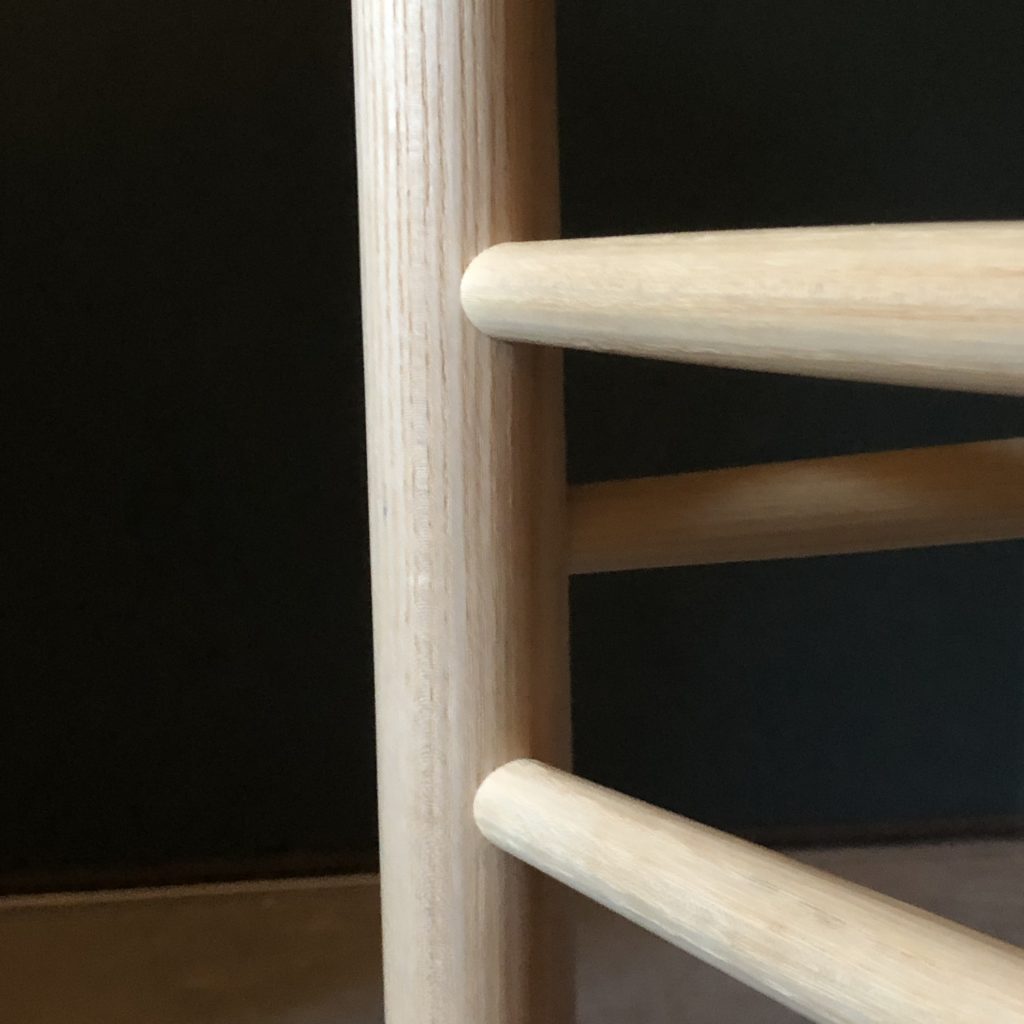
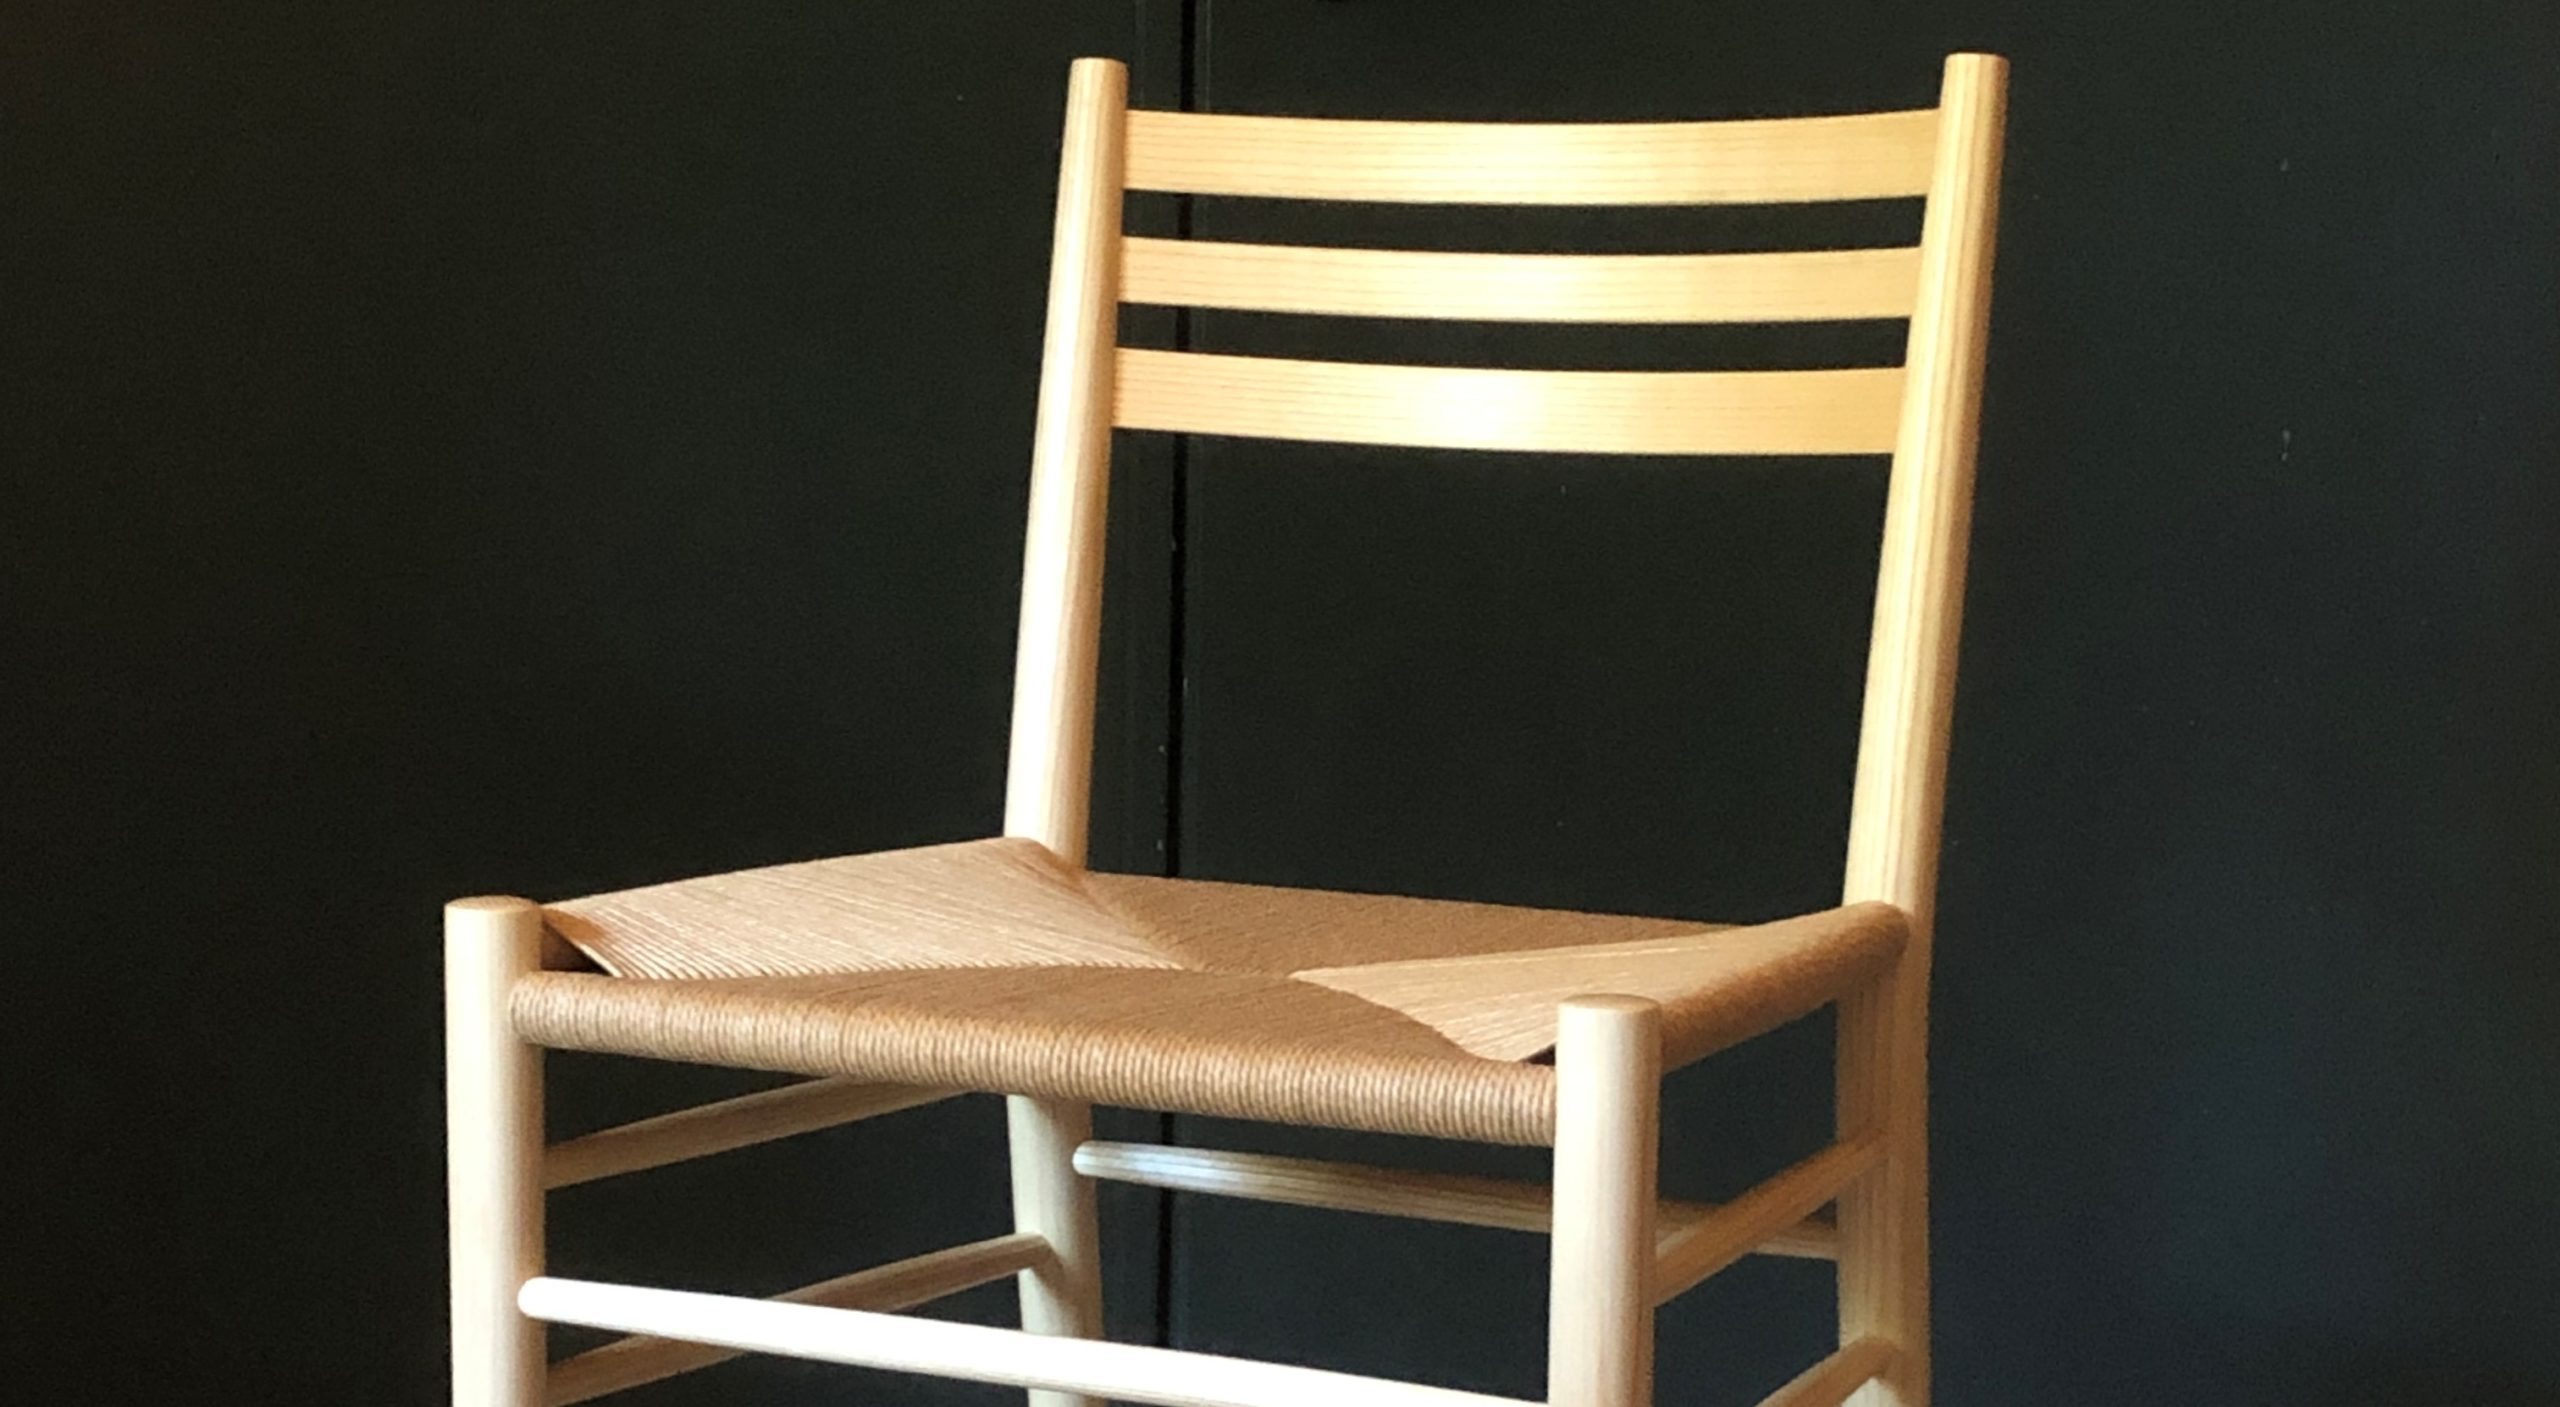
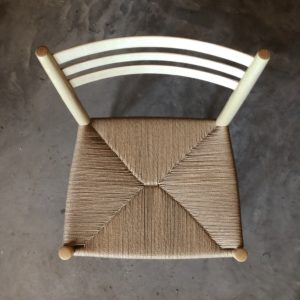
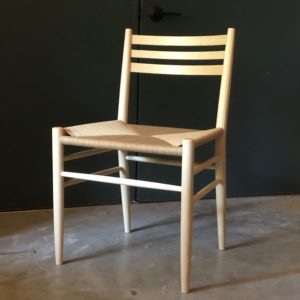
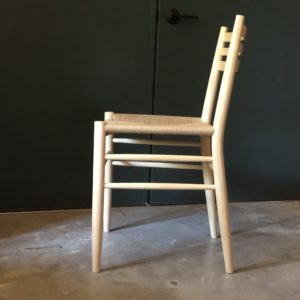
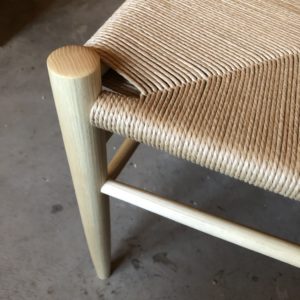
His chairs are a combination of modern lines and traditional handwork.  They’re a perfect bend.  The chairs show the makers hand (which is something I look for when enjoying handmade chairs).  But it’s the detailing that keeps me coming back to it.  Each detail is considered.  The lower rungs are lifted, which gives the chair a lighter appearance while providing the necessary strength.  The upper slats are wide enough to provide support without any unnecessary bulkiness and they catch the sitter is just the right spot.  He finishes the chair with the envelope pattern danish paper cord seat.  Perfect choice: clean, uniform, and complimentary to the handmade chair.

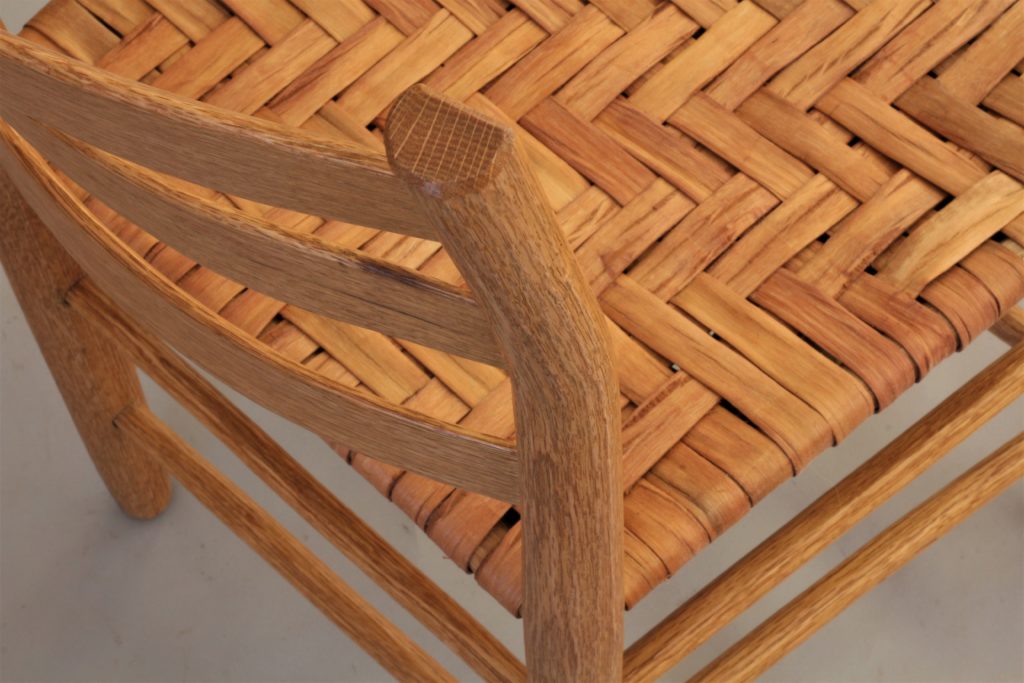
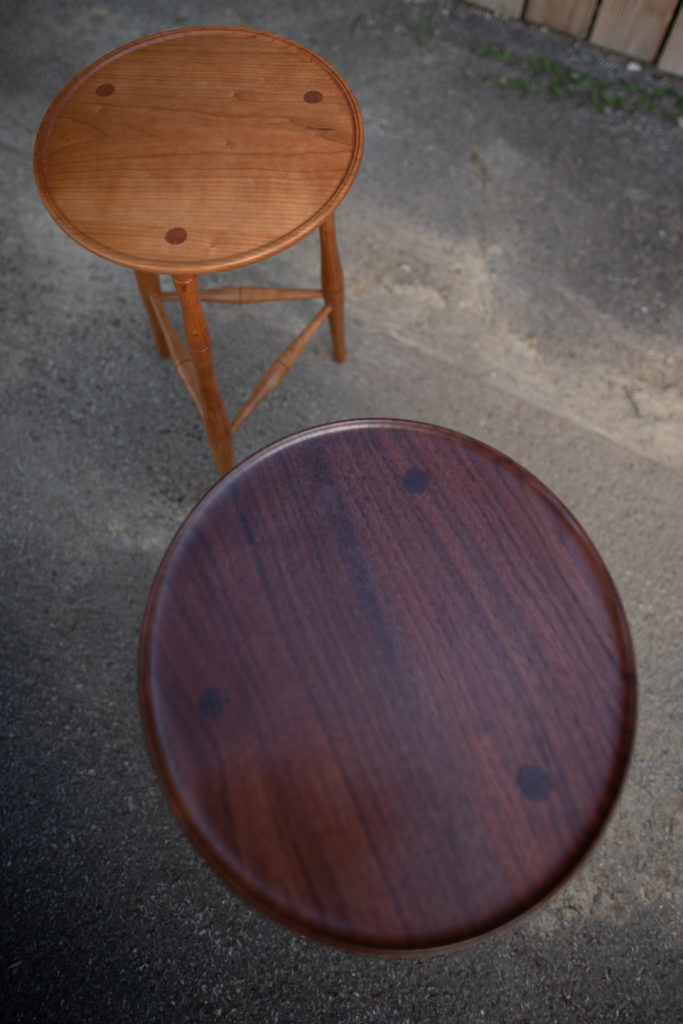
The way Dawson utilizes the straight grain may not be apparent to a new maker, but is vital for both the durability and appearance.  I love how the grain runs across the slats.  It’s a minor part of the the chair, but one that gives it a feeling of balance and harmony.  Simply put: It is right (actually, that’s how I feel about the entire chair).

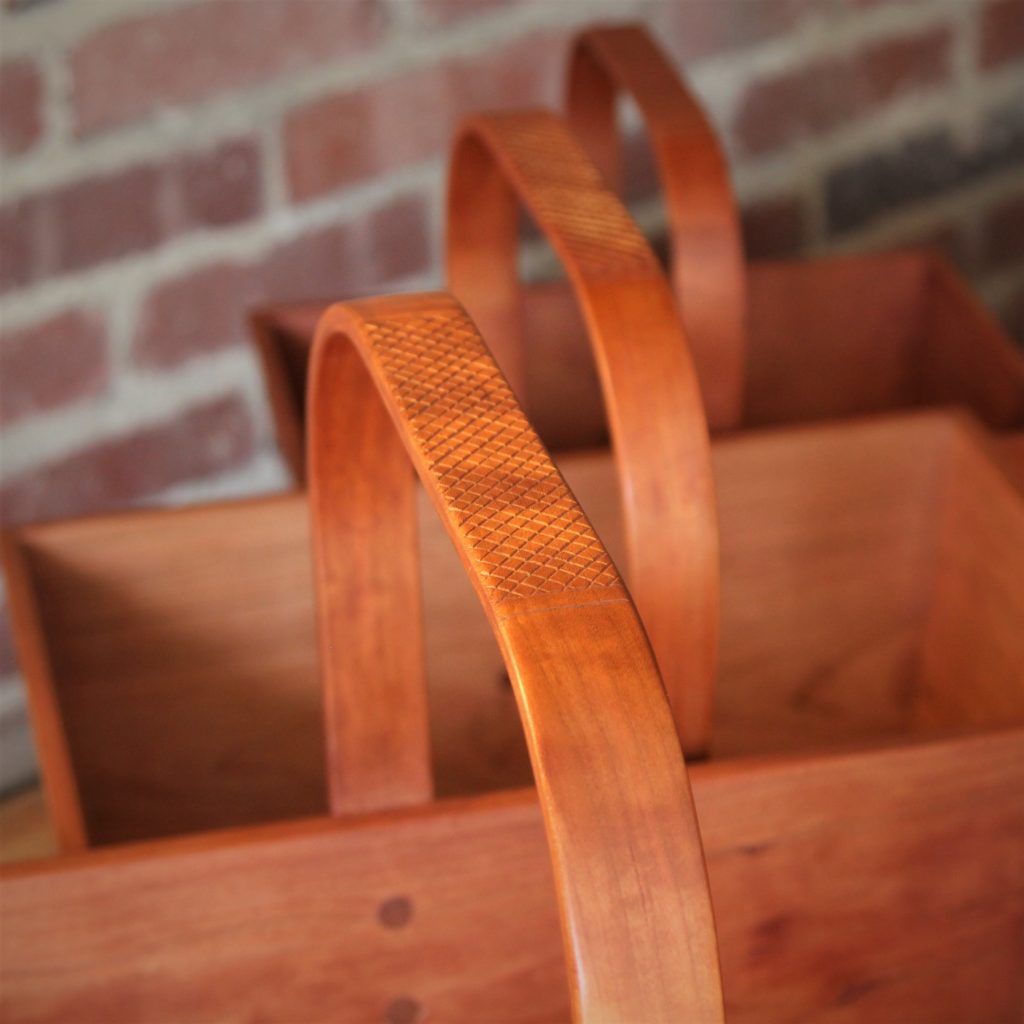
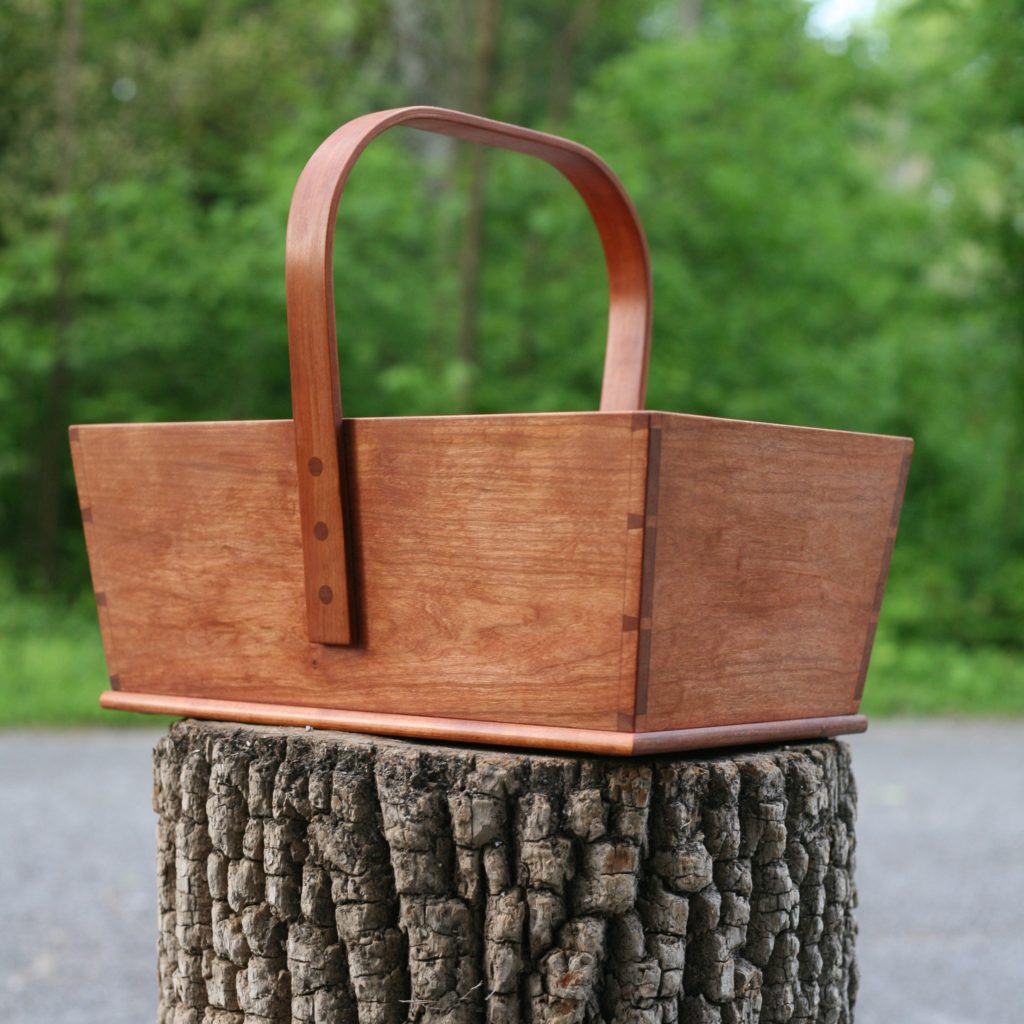
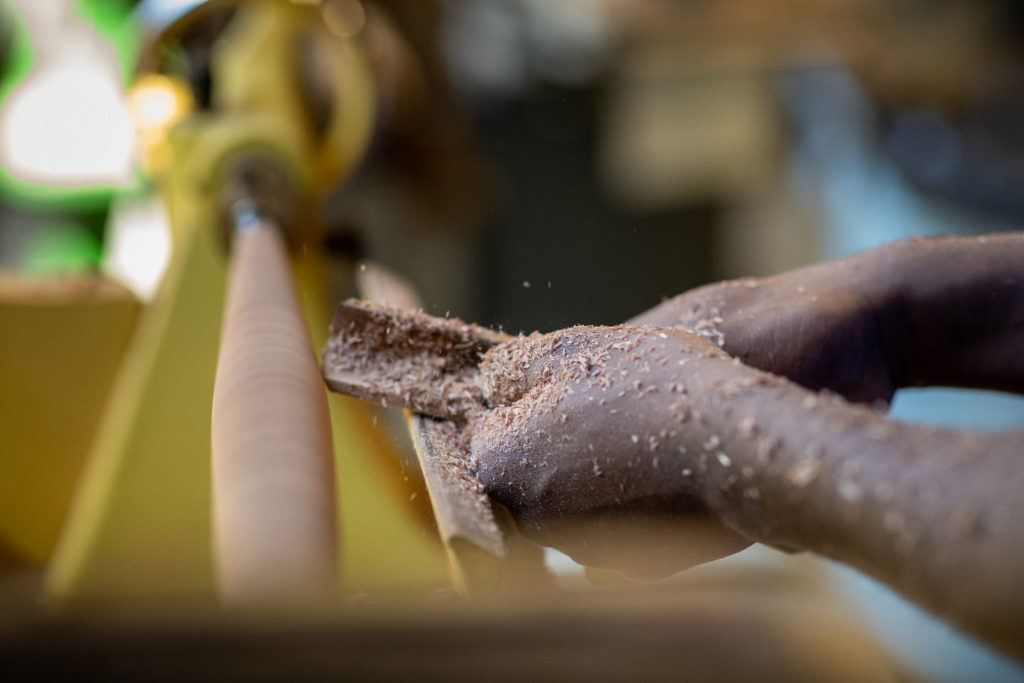
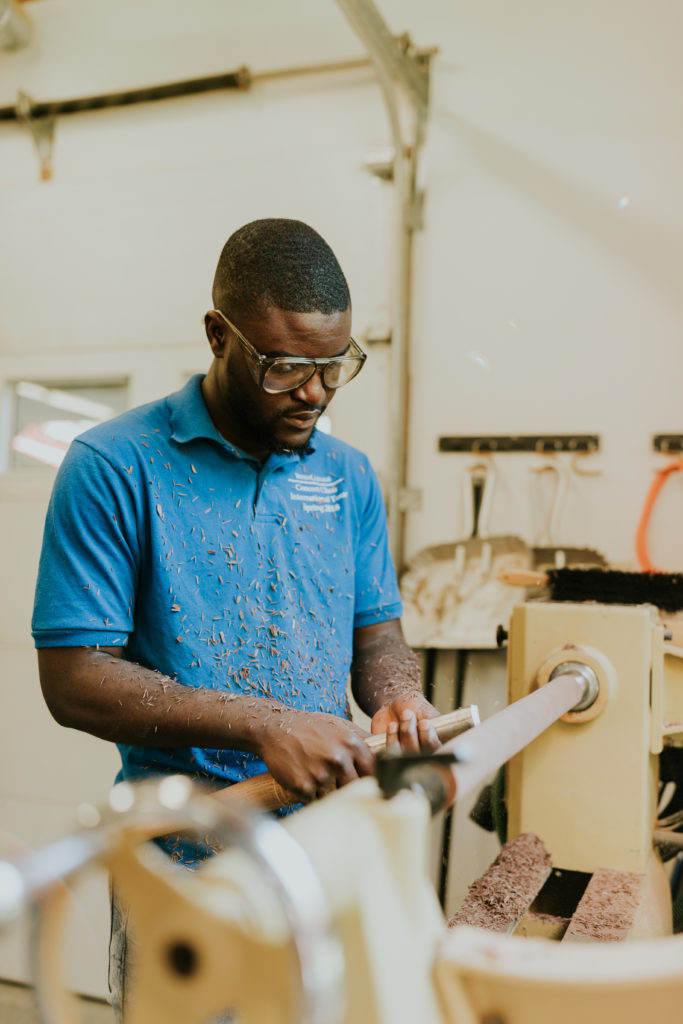
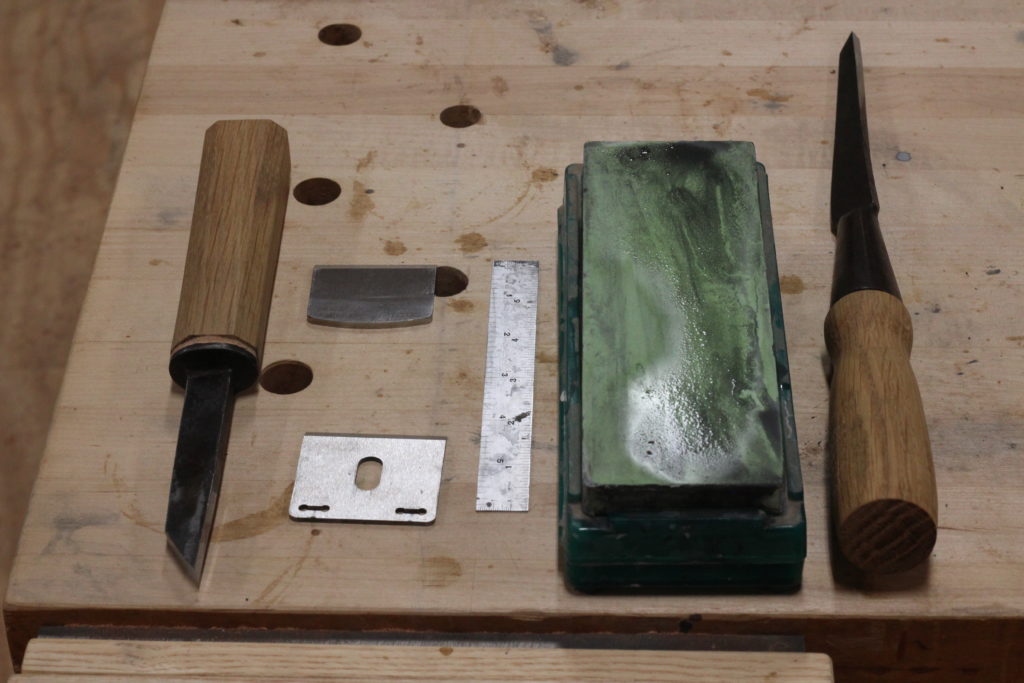
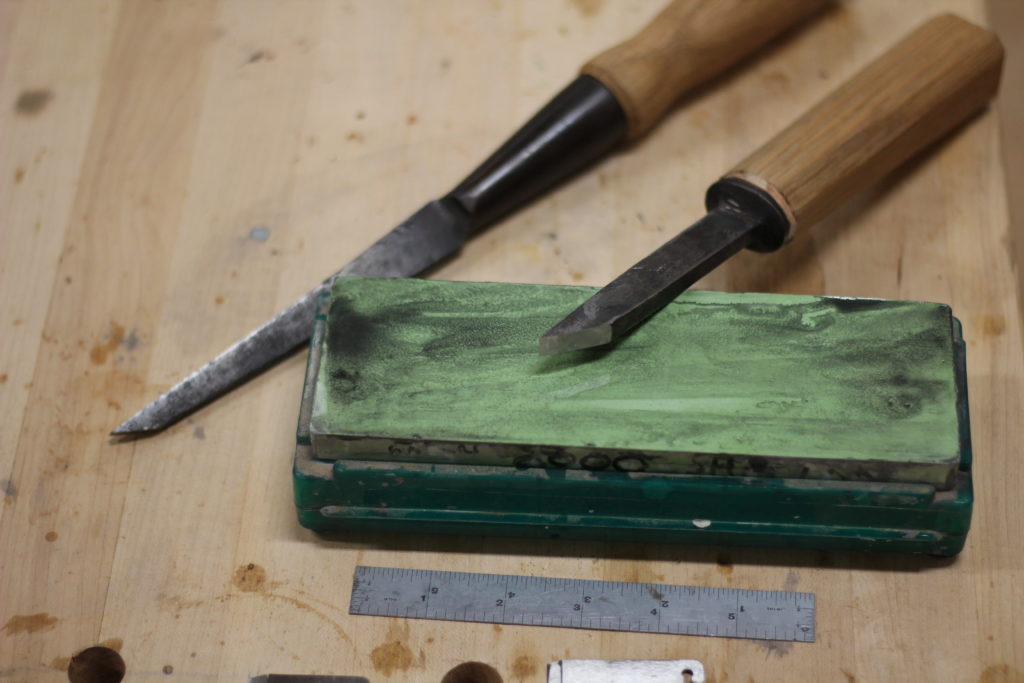
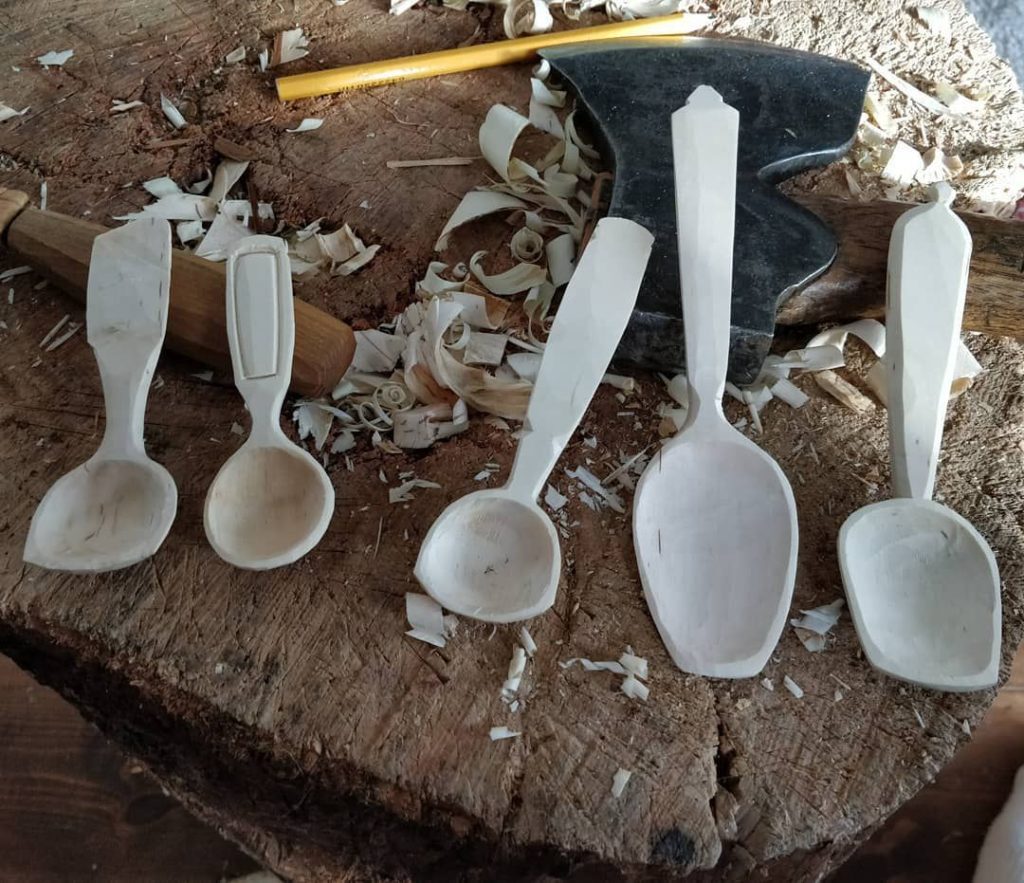
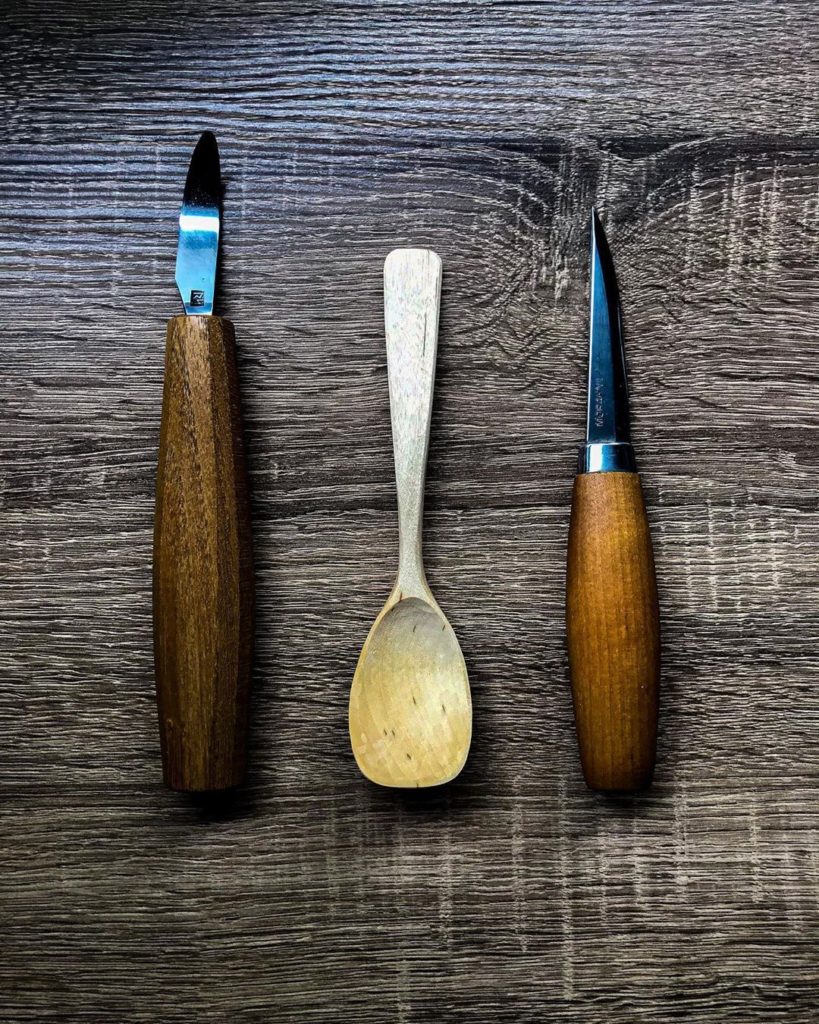
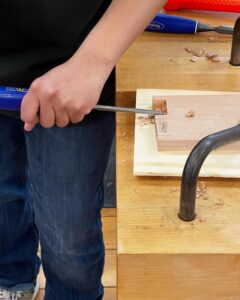
I also like that Dawson’s using traditional skills and techniques with an eye towards modern design.   This isn’t a purely green woodworking, or a machine-centric build, but a blend of the two approaches.  A considered approach that uses the precision and repeatability of the machines when their strengths are appropriate and the uniqueness and personality of hand work when it adds to the character of the design.

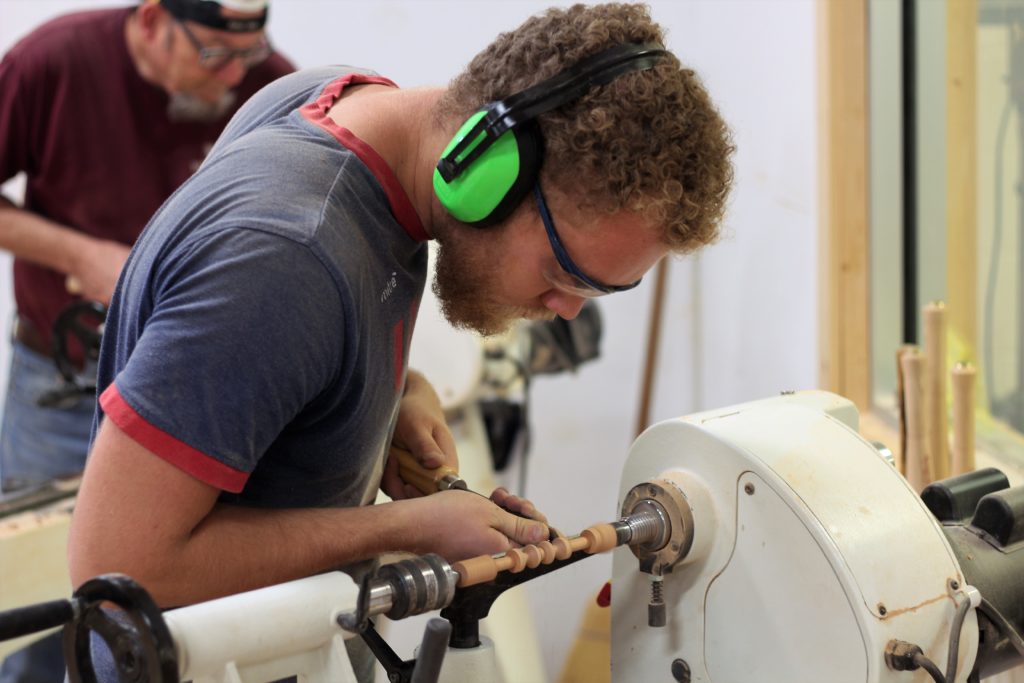
All chair makers have their tricks and surprises that sets their work apart.  Some are free flowing.  Others are engineers, working towards precision.  I’m looking forward to seeing Dawson’s approach to chair making.  There’s consideration for each detail.  It’s a gorgeous chair, that much is apparent.  It’ll fit perfectly into a week-long course.

I’m thankful he’s sharing it with us in Berea.

Andy Glenn

(please reach out with questions about Dawson’s class or any other we offer in early 2022: glenna@berea.edu)

Class: Green Wood Chair Making

By decommission

Date(s): March 13-17. 9am – 5pm. Five class days

Instructor: Andy Glenn

Price: $1,500

Description: In this class, we will begin the week with the log to collect knock out parts and end the week with a completed chair. Green wood chair making starts with moisture content; the wetter wood of the posts shrinks around the dry rungs. That’s what holds the chair together, as these chairs were traditionally made without the use of nails or glue (though we’ll use a little glue, it’s nice to use for the peace of mind ).

We’ll use primarily hand tools in the class, to shave and shape our parts. We’ll split the log with a froe and maul. Then shave the posts and rungs at the shavehorse. We will steam and bend the back post, which both adds to the appearance and increases the comfort of the chair.

This class is ideal for someone making their first chair or their 20th. It is my hope that someone can take this class and feel confident returning home to make a chair in their shop. We’ll cover all the relevant topics: moisture content, materials, tools and techniques, form making, seat weaving, and finish.

The chair design is characteristic of a traditional Appalachian post-and-rung. Shaved with three slats, bent upper post, and a woven hickory back seat, this design is commonly found around the region.

Lunches provided.

Students: please bring your tool kit and seating material*

* A couple seating options (I’ve listed a few and there are plenty of others )

Tool List:

Needed:

  • Drawknife
  • Spokeshave (Flat or Round bottomed, flat will be a little easier)

Recommended: (please bring – especially the first eight on this list – but don’t run out to purchase if you don’t own one yet)

  • pencil
  • utility or pocket knife
  • tape measure
  • sliding bevel gauges
  • tenon or dovetail saw
  • sharp chisel
  • pocket knife or (small) straight carving knife
  • claw hammer
  • handsaw (smaller crosscut saw – ideally a tenon saw, though most anything will do)
  • framing square or 24″ straight edge
  • deadblow or lump hammer
  • block plane
  • compass (scribe)
  • card scraper

We’ll use/cover, but not needed (please bring if you have them):

  • froe, maul and wedges
  • hatchet
  • power tenon cutters
  • bevel setting gauge or protractor (a way to find angle for the sliding bevel gauge)

Class: Wooden Carrier

By decommission

Date(s): February 25 & 26. 9am – 5pm. Two class days.

Instructor: Andy Glenn

Cost: $440

Description: Join us for two days in June to build a charming cherry carrier. With a focus on hand tool woodworking, we’ll cut compound-angle dovetails at the bench to create the box before adding the steam bent handle and the nailed bottom. The handle detailing is created with a single carving tool. You’ll leave with the skills to create these carriers in all sizes.

Early examples are credited to Shaker communities who used the wooden carrier in their medicinal herb business. Consistent with Shaker design, the carrier combines both beauty and utility. Open to beginners (though familiarity with the tools is beneficial).

Participants need to bring a small kit of tools for the class (we’ll have extras of tools if your kit isn’t complete).

Lunches provided.

Tool List:

  • Combination Square
  • Bevel Gauge (two, if you have them)
  • Chisels (¼”, ½” and 1”) or entire set. An ⅛” chisel is helpful but not necessary.
  • Mallet
  • Marking/Cutting Gauge
  • Dovetail saw
  • Smoothing Plane
  • Hammer
  • Marking Knife
  • Coping Saw (if you own one)
  • Optional: Small v-carving tool (for cutting in the hatching on the handle).

Class: The Anarchist’s Tool Chest

By decommission

Class Date(s): Monday, June 13 through Friday, June 17. 9am until 5pm.

Class Instructor: Megan Fitzpatrick

Title: Anarchist’s Tool Chest

Cost: $1450

Class Description: Aside from a workbench, a sturdy tool chest is one of the most important things to have in your shop. It organizes and protects your tools from damage, rust and loss. While many woodworkers have attempted to improve upon the traditional chest design that emerged 300 years ago, the old form has remained the absolute best way to keep the most tools in the smallest space. And if you need an even slightly smaller footprint for your chest, you’re in luck. In this class, you can choose between making a full-size chest (25-3/4” tall, 24” front to back, 40-1/4” long) or a traveling version that will fit into the back of a car or truck (14-1/2” high, 19-1/2” front to back, 39-1/2” long). The full-size chest will hold a complete set of the hand tools typically used for furniture work; the travel size chest will hold most of them.

In this five-day class you will build the shell of your own traditional tool chest using hand tools and techniques. This is an excellent first project for a new hand-tool woodworker. Skills you will learn in this class include:

• Truing up panels using bench planes

• Traditional through-dovetail joinery

• Cutting basic mouldings by hand

By the end of class you will have all the skills you need to complete the interior of the chest at your workshop at home, whether you want to make just a few sliding tills or even a full-blown interior cabinet with dovetailled drawers.

If you’d like to learn or improve your dovetails this is absolutely the class for you – you’ll get plenty of instruction and practice as you make a handsome and (almost) bomb-proof tool chest.

Wood is included. Hardware is not included; Megan will send a list of suggestions at various price points.

Lunches provided.

Tool List: ATC Tool List (the ones you need to build it – not all the stuff you’d want to put in it…)

Smoothing plane

Jack plane

Block plane

Marking or cutting gauge

Marking knife.05 or .03 mechanical pencil

Dividers (2 pair if you’ve got ‘em)

12” combo square

Dovetail marking gauge or sliding bevel

Dovetail saw

Chisels ½” and 3/8”

Mallet

Rabbeting plane, moving fillister or a large shoulder plane

Hammer

Coping saw with extra blades (I recommend Pegas blades)

3/16” Beading plane

Flush-cut saw

Drill and bits

And any other tools you just can’t bear to be without. For me, that includes my waterstones and honing guide, a 6” adjustable square, a double square (a.k.a. diemaker’s square or machinist’s square) and multiple pencils.

Oh – and if you’re driving and have long cabinet clamps (39” or longer) and don’t mind bringing a few, we can always use more clamps in this class!

And don’t worry if you don’t have/can’t get all the tools listed above; we have some to share.

Class: Shaker Style Side Table

By decommission

Date(s): June 6 – June 10. 9am – 5pm. Five class days

Instructor: Andy Glenn

Cost: $995

Description: This 5-day class is ideal for someone looking to learn the basics of furniture making. We’ll use a mix of both power and hand tools to make our tables. Power tools to make the parts, cut the mortises and complete the milling. Then hand tools at the bench to shape the parts and fit everything together. Dovetailed drawer and turned knob complete the piece.

We’ll use poplar for the base (which looks great with a little painted color, though it could remain natural). Cherry for the top, knob, and drawer front.

Lunches provided.

Questions about the class? Email Andy Glenn at glenna@berea.edu

Tool List:

  • chisels (1/4″, 1/2″ and 1″ are ideal…or similar sizes)
  • hand plane (either a #3 or #4)
  • dovetail saw
  • marking gauge
  • combination square
  • bevel gauge
  • card scraper
  • coping saw (if you own one)

Class: Windsor Style Side Table

By decommission

Date(s): June 3 though June 5. 9am – 5pm. Three class days

Instructor: Andy Glenn

Cost: $625

Location: Berea College Woodcraft

Description: An ideal class for anyone interested in woodturning and lathe use. We’ll structure the class into three parts:

  • Day One: learning the lathe and practicing different cuts and techniques. We’ll also cover safety and sharpening on day one.
  • Day Two: Parts making. We’ll shape the legs, stretchers and top of our tables.
  • Day Three: Complete the parts and assemble.

Wood turning is a great entry point into woodworking and furniture making. It’s fun, that’s the best thing about it. And it’s also immediate. As you learn and become more comfortable at the lathe, you’ll produce pieces at a quickening pace.

We’ll cover the all the basics of spindle turning in this class and end with a charming side table. Going forward after the class, there are plenty of directions to continue with turning: more furniture, bowl turning, balusters, vessels, or rolling pins. The lathe opens all sorts of design possibilities for furniture and craft pieces.

Lunches provided.

Tool List:

Tape Measure

Pencil

Combination Square

Class: Sharpening: Chisels and Plane Irons

By decommission

Date(s): Saturday, April 30th. 9am – 5pm.

Cost: $180

Instructor: Andy Glenn

Class Description: Keeping tools sharp is a critical aspect to hand woodworking and one that effects the results we achieve with the cutting tools. Sharpening is a skill consistently put to use. Since tools dull as we use them, it is best to frequently sharpen them. The more tools are used, the more sharpening necessary.

In this one-day class, we will cover the most common methods and approaches to sharpening chisels and plane irons. You’ll leave this session with sharper tools and the knowledge and confidence to sharpen the tools in your kit going forward.

Lunch provided.

Tool Kit: Please bring your chisels and plane irons. We’ll discuss and diagnose older tools. Bring newer tools as well….they frequently need sharpening before use. If you do not have tools but would still like to attend, we will have extra tools around the shop to borrow and practice with for the day.

Class: Modern Ladder Back Chair

By decommission

Class Date(s): Monday, April 25 through Friday, April 29. 9am – 5pm.

Class Title: Modern Ladder Back Chair

Cost: $1400

Instructor: Dawson Moore

Class Description: This chair blends inspiration in both construction process and design from the likes of the more traditional Jennie Alexander and Brian Boggs, to the more modern Danish designers Hans Wegner and Borge Mogensen. The chair’s joinery relies on the foundational concepts outlined in Alexander’s well known book “Make a Chair from a Tree” while also exploring modern efficiencies by using a lathe, drill press and router. The idea is to gain some increases in joint accuracy and to skip over some of the mundane aspects of a purely hand tool build, while still embracing the fun of splitting parts from a log and shaping with hand tools like spokeshaves and drawknives.

In this class we will:

● Watch and get to practice splitting a few parts from a log.

● Shape provided front and steam bent back leg blanks with a drawknife and spokeshaves.

● Add a spokeshaved surface to provided rung turnings.

● Watch a demo of turning parts and sizing tenons on a lathe.

● Watch an alternative method of milling some parts from dried lumber.

● Learn some of the concepts behind the chair’s design and its jigs to be able to apply to other designs.

● Layout and bore rung and back slat mortises using simple and adaptable jigs.

● Shape and fit provided steam bent back slats using spokeshaves, a sloyd knife and block plane.

● Learn about proper grain orientation that ensures longevity of chair joints.

● Learn how to use a shop made kiln to take advantage of the shrinking and expanding properties of wood.

● Watch a steam bending demo and get to perform a couple practice bends.

● Assemble the chair.

● Apply an interesting new Japanese ceramic wood finish.

● Weave a “rush” pattern (also called envelope pattern) danish paper cord seat.

Tool List: Participants should bring a small kit of tools for the class. We’ll have extras of the recommended tools if your kit isn’t complete, but you’ll definitely need to bring the required tools.

Lunch provided.

Required:

● Gloves for Seat Weaving (I like something like these gloves that are form fitting for good dexterity, leather soled for protection, and fabric backed for more comfort and breathability. I would recommend trying on in store to ensure a close fit.)

Recommended:

● Pencil

● 6” Ruler

● Tape Measure

● Folding Ruler

● Sloyd Knife (Mora 106)

● Spokeshaves (flat and/or round bottom)

● Drawknife

● Card Scraper

● Block Plane

● Ear & Eye Protection

● Side Cutters (for trimming Danish cord)

Class: Spoon Carving

By decommission

Date(s): April 22 – April 24, 2022. 3 class days.

Instructor: Michael Puryear

Cost: $550

Description: In Scandinavia, the sloyd (slöjd in Swedish) method is based in traditional craft and is part of the education system in all Nordic countries to develop aesthetic sensibility and manual skill. This class is following this philosophy and practice by carving wooden spoons. Students will design and carve a wooden spoon using a traditional sloyd and hook knives. You will learn how to sharpen and safely use these tools to turn a piece of wood into a useful spoon.

Lunches provided.

Tool List: Morakniv Wooden spoon carving set (two knives, approximately $70). Available at highlandwoodworking.com

Register Now