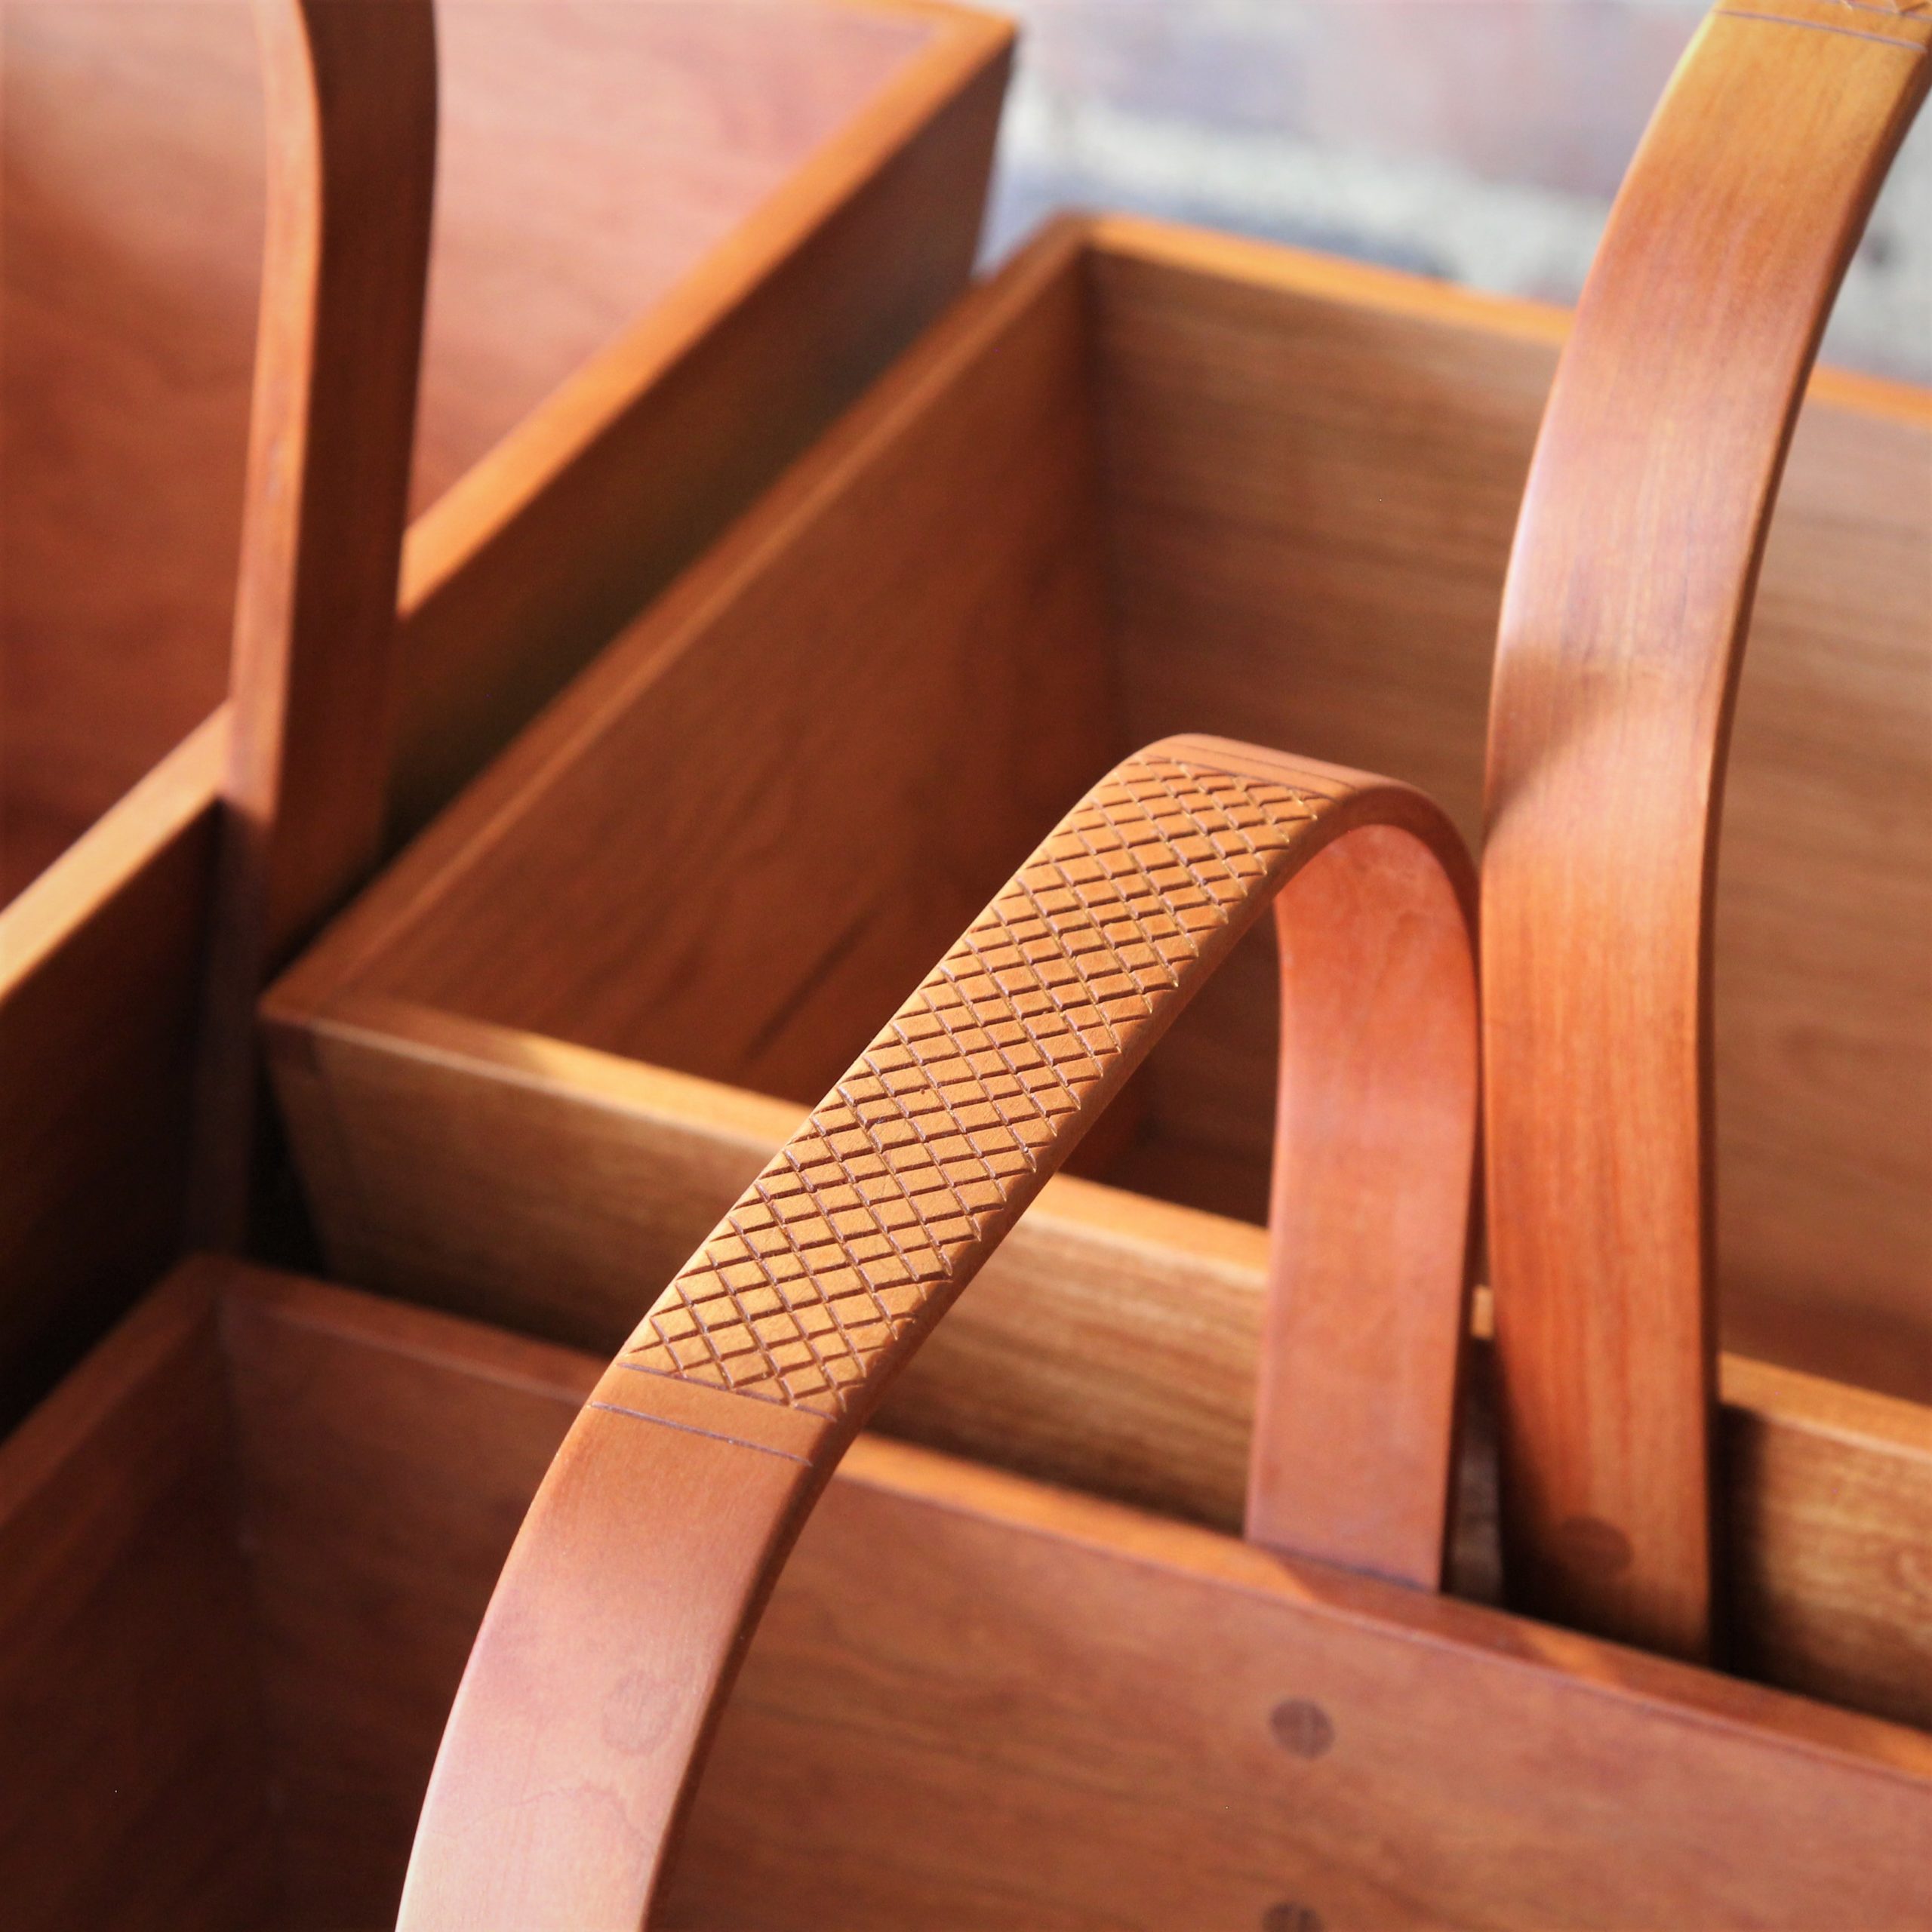
I made a set of three carriers around holidays as a gift to my wife. Time got tight as it always does (I was making other shop-made gifts at the same time). So I pushed back the hatching on the handle. It’s a small detail that wasn’t present on the original Shaker wooden carrier (made: late 1800’s) that initially caught my attention. I made a carrier this past fall and added the hatching. I liked the hatching but didn’t view it an a necessity, thought of it as ornamentation that the carrier could do without.
To my surprise, I missed it. The hatching makes all the difference. The carrier felt incomplete without it. Which led to a quick carving session over this past weekend. Carving implies more skill than it takes. It’s a simple layout: all lines are 1/4″ apart. The layout is centered on the handle and the angles are either 90° or 45°. Then it’s skimming a small v-tool (something similar to a 15/3) across the handle’s surface to remove the pencil line. It doesn’t take much muscle. Just a controlled, gentle touch to cleanly remove the pencil line.

That’s it. Laying out the pencil lines took just as long as the carving. Afterwords, I added a little oil to the hatching to give it some color and I may put a little dirt/color onto the handle once the oil cures to add a little more definition to the lines. It took about an hour to carve three handles.
I’m teaching a wooden carrier class this fall, October 23 and 24. The hatching is optional, though I will strongly encourage it. It’s a subtle detail that adds a big impression.
–andy glenn

