October 8, 9, & 10, 2021
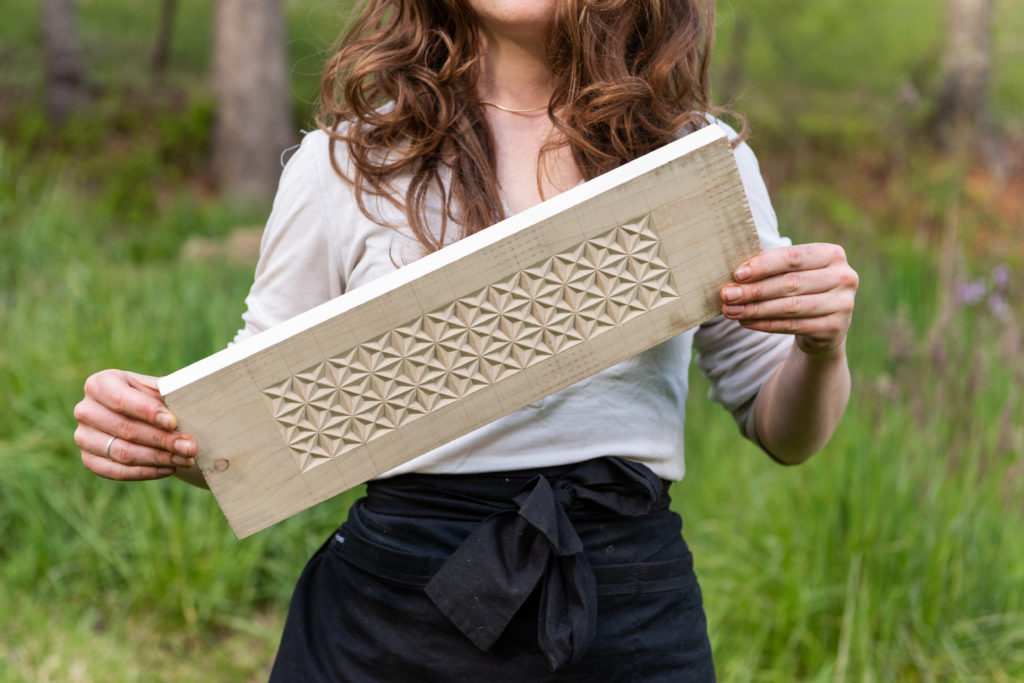
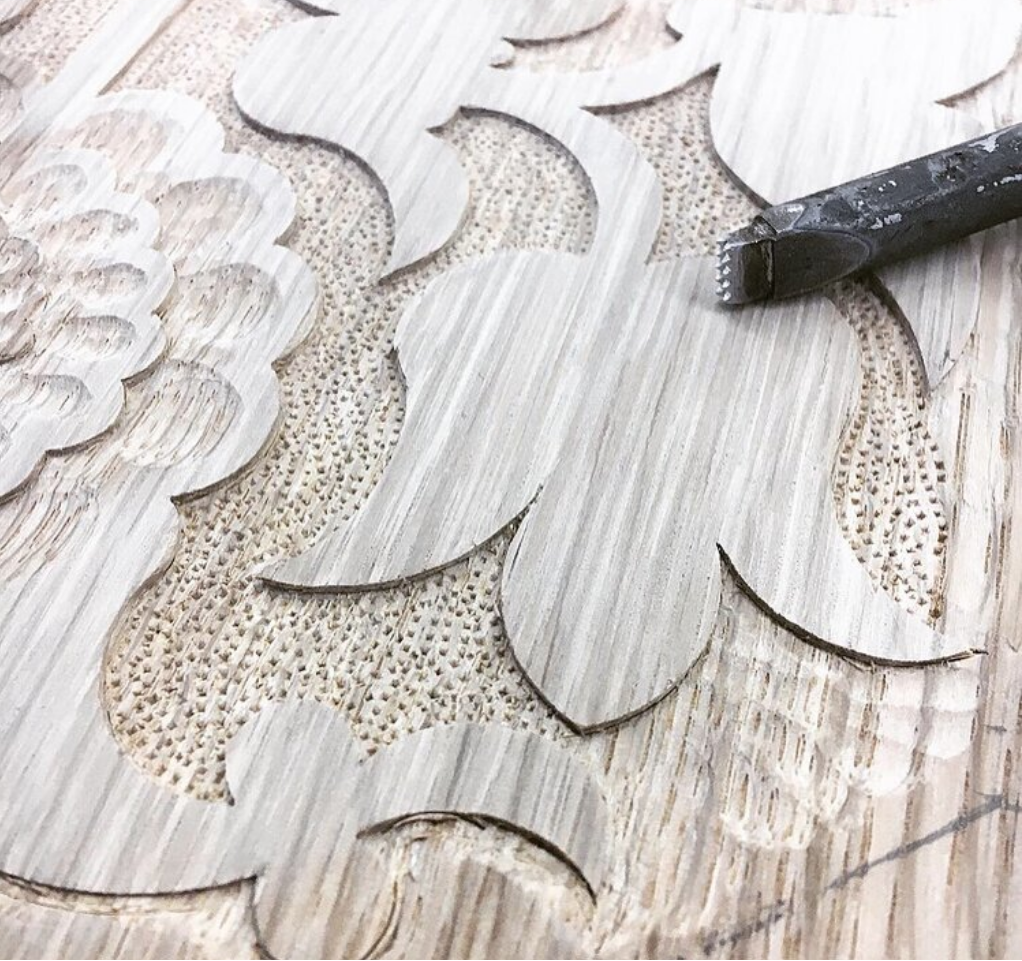
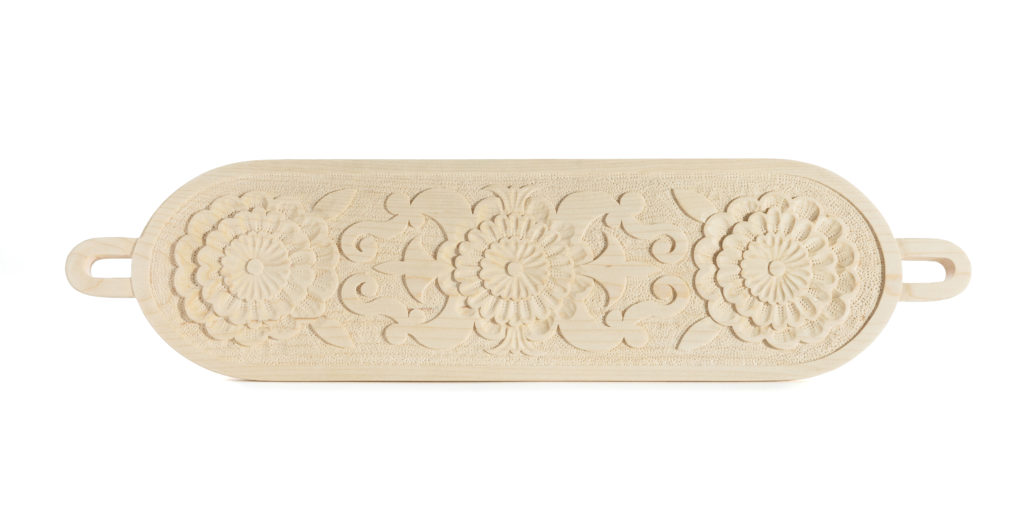
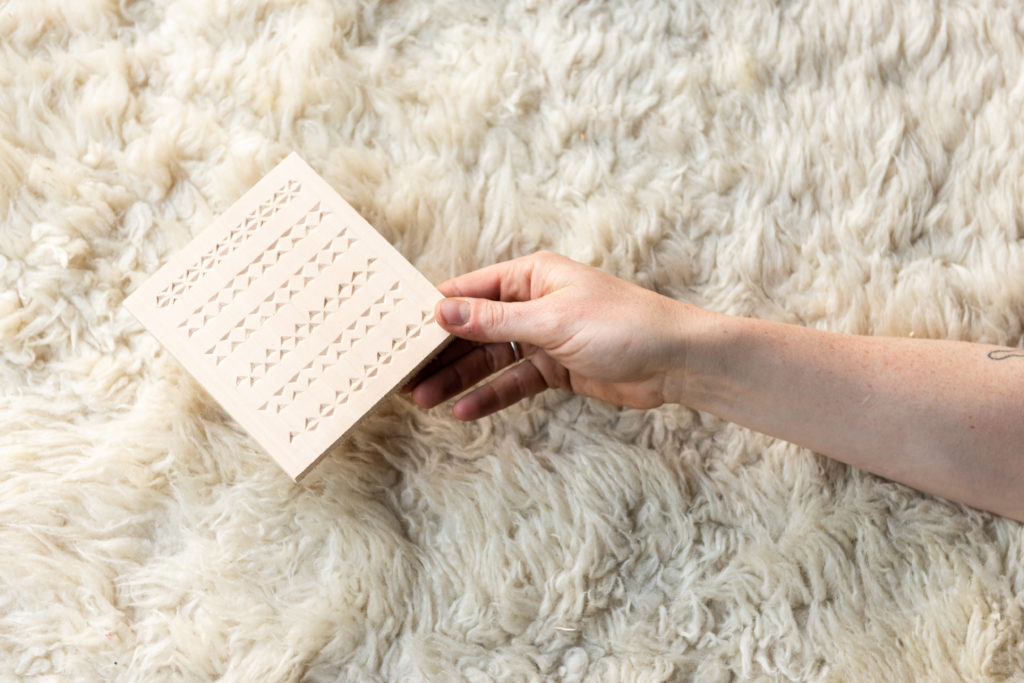
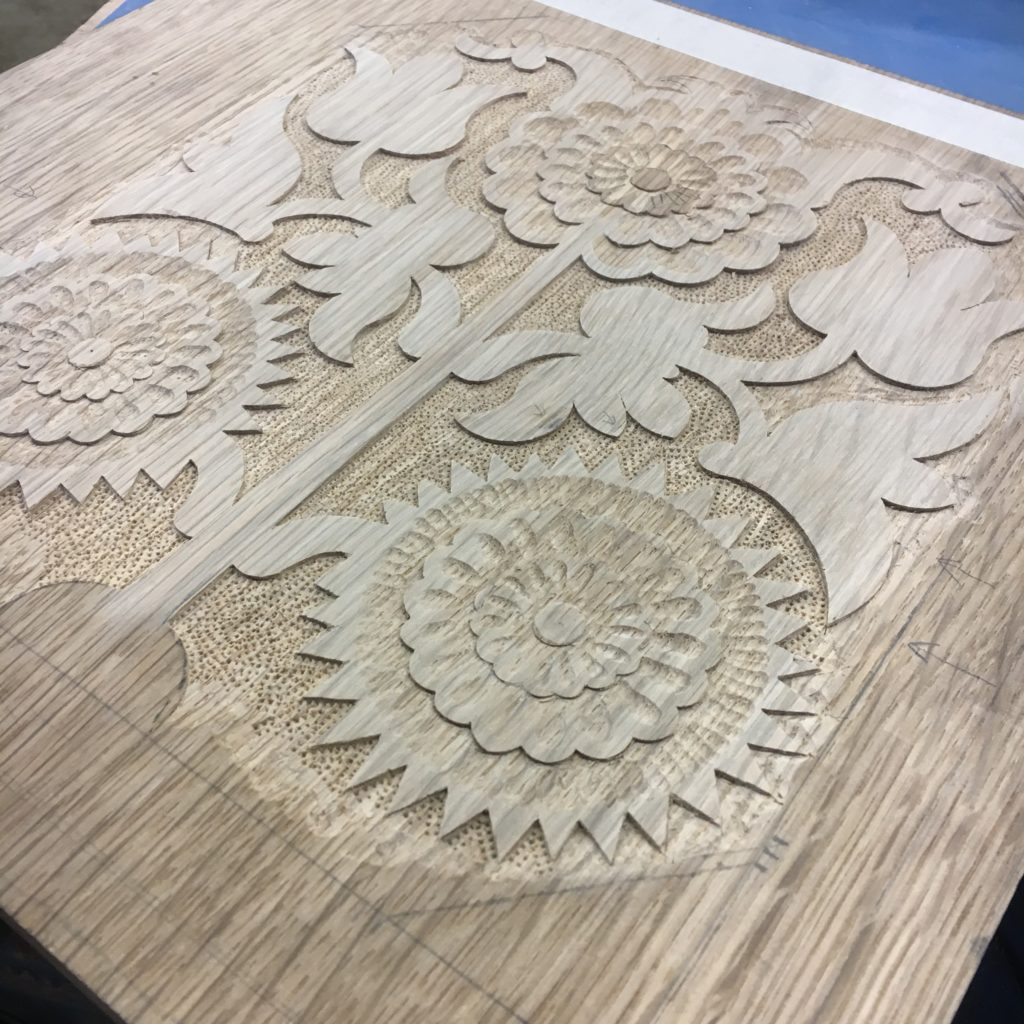
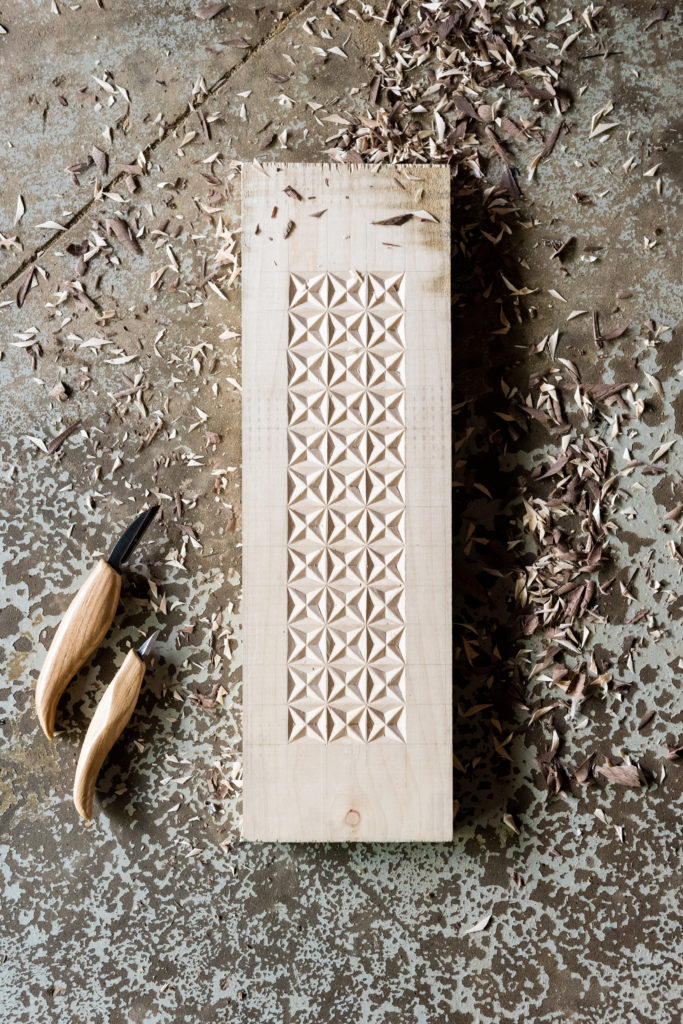
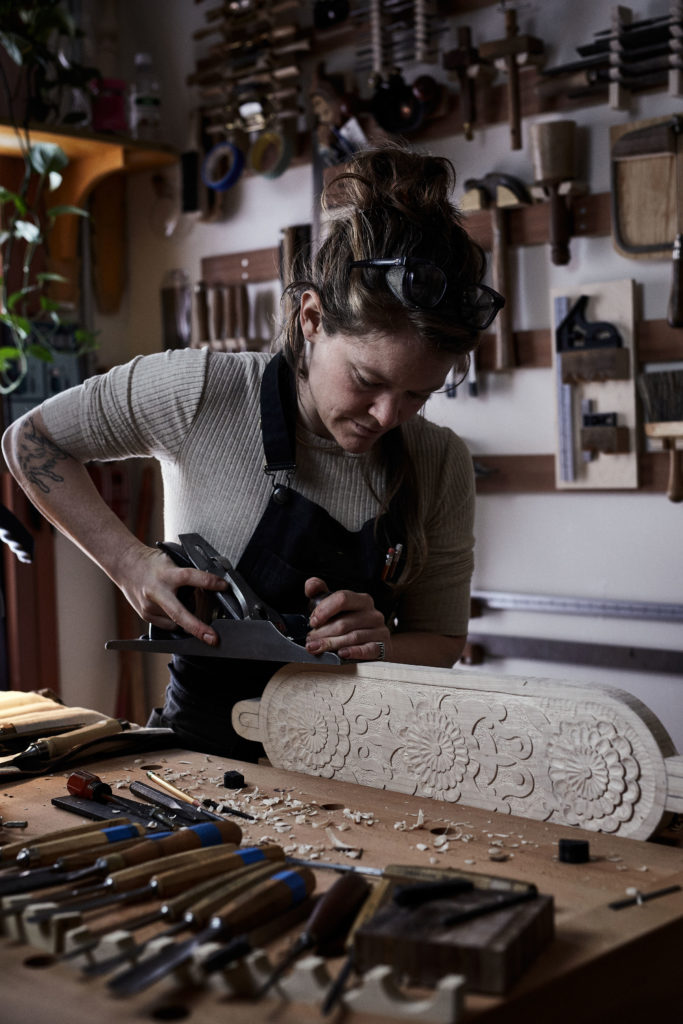
Popular in 1600 and 2020, these ancient carving methods are showing up all over the contemporary furniture field – so come jump on the bandwagon and learn the essentials of these old techniques. We will cover tools, technique, grip, pattern design and jigs for holding your work and for sharpening your tools. I will also demonstrate how to make punch tools and a depth gauge. In the afternoons I will cover classic chip carving – a versatile style of folk carving using inexpensive and simple tools. We will go over essential cuts and shapes that you can use to adorn furniture, boxes, utensils, any kind of decorative or functional woodwork. These techniques are an ideal introduction to carving and look gorgeous on furniture and smaller projects like boxes, bowls, plates and trays. They require simple tools, no expensive vices or grips, and no power tools. Whether you are just starting out or looking for a new way to apply a lifetime of woodworking experience, carving is an exciting and accessible craft. Patterns provided.
Participants need to bring a small kit of tools for the class (list provided and we’ll have extras of tools if your kit isn’t complete).
*Pine Croft will have a set of shop/shared tools. Aspen and Andy will also have their sets and will share. Please send along a message (to Andy: glenna@berea.edu) if the tool list is concerning or if you have questions about the tools. We recognize carving tools are expensive.
Aspen’s Carving Class Tool List:
Note on carving gouges: “I find most of these sweeps very useful so you wouldn’t be wrong to buy them, but they are not a specially formatted ‘essential starter set’ – they are just what is needed for this pattern. During the demo I will talk about how I resize patterns to fit the gouges that I have, rather than always buying new gouges to fit my patterns. I will also talk about ‘walking’ your tool which can help you use your current tools in lieu of new ones.”
Required:
- 1″ chisel (or a similar size)
- one chip carving knife (recommended: one of the following knives)
- FlexCut
- Wayne Barton or Wayne Barton knife
Required Gouges:
Woodcraft carries a full line of Swiss Made/Pfeil carving tools. There is a local Woodcraft location in Lexington, KY.
- 8/7
- 8/13 or 8/14 (mine is gouge is from a yard sale so it’s a little smaller than an 8/14 but that’s the closest modern size)
- 7F/16
- 11/10
- 7/25
- 7/20
Recommended/Optional Gouges and Brush:
- 6/30 (cambered)
- Cleaning up: you can use what you have for setting in, but I like to use a 7F/6 – it’s generally very useful and very helpful for this carving especially. I also use my 5F/8 and my 1s/5
- Carving brush (small, cheap steel wire brush works well)
Other Recommended/Options Tools:
Pattern punch: Technically optional, but very helpful – I’ll be demoing how to make one
- Scrap steel – an old file or rasp works very well. Even a very thick framing nail can work. I collect little pieces of steel from the iron studio here at Penland.
- Triangular or square edge file to create points
Other useful edge tools:
- ¼ – ½” flat chisels
- Mini router plane
Mallet:
- Carving Mallet – there are a million options, plus homemade ones are nice too. The striking surface shouldn’t be metal (will damage your gouges) or rubber (will bounce). Wood mallets are best.
- Here are a few options though I’m sure you can find more online:
- Rockler
- Narex
- Wood is Good
- Blue Spruce – beautiful & pricey

