
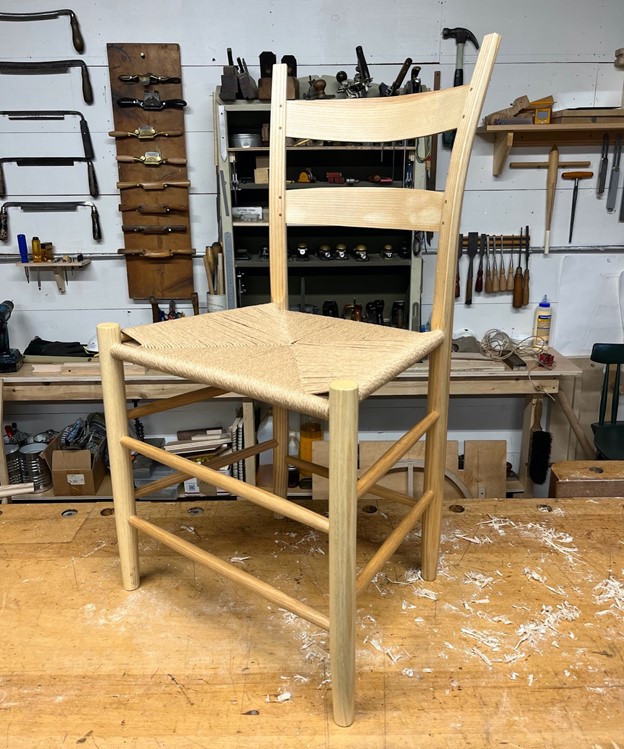
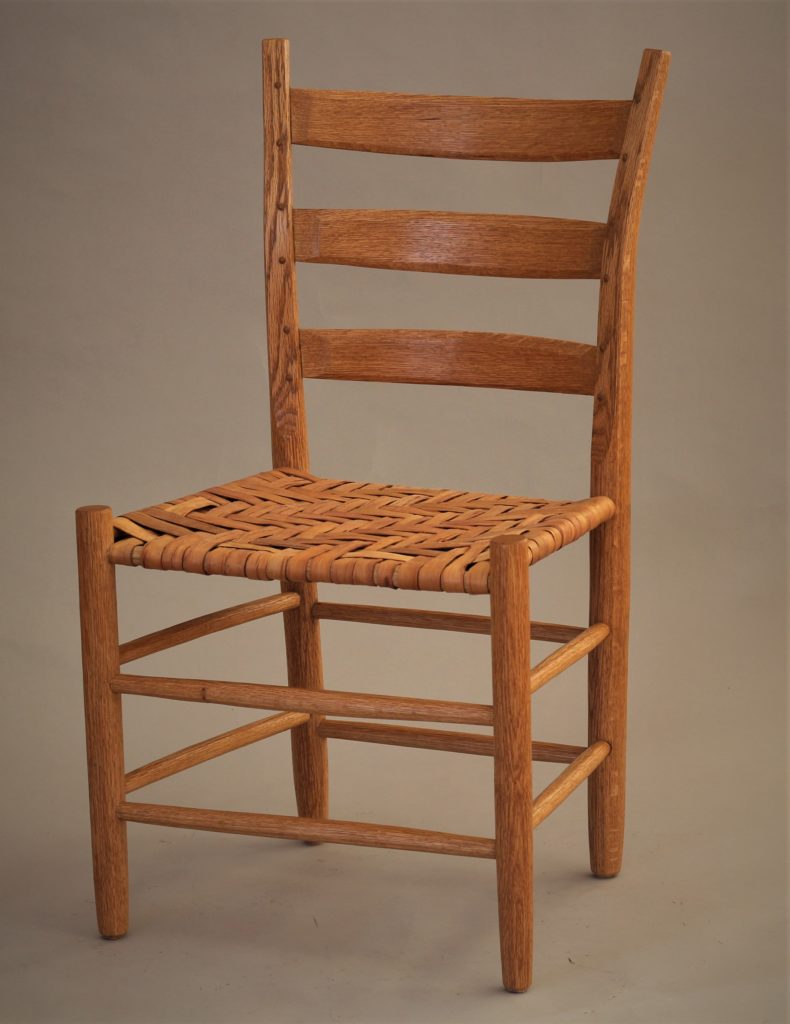
Poynor Side Chair
With Robell Awake and Charlie Ryland
February 26 - March 2, 2024
$1,675
Poynor Side Chair
During this six day class students will build a traditional ladderback side chair based on the iconic chairs of Richard Poynor and his family. Parts will be split from a freshly felled log, shaped using drawknives and spokeshaves, and joined through a combination of traditional and modern techniques. Throughout this process students will gain in depth, hands-on experience understanding and working with wood’s natural structure and movement to maximize its strength and flexibility, and will gain perspective on designing and building objects without the need for straight, flat, or square reference surfaces. While most work will be done using a small set of hand tools, Robell and Charlie will discuss options for working with floor standing power tools, and demonstrate processes for using standard, kiln dried lumber for times when whole logs are either unavailable or impractical. Seat weaving with paper cord will be demonstrated at the end of class, and students are welcome to bring their own weaving material, but we prefer to focus on the core skills, techniques, and tools of chair construction while in class together. No previous experience is necessary, students of all skill levels are encouraged to join us. Continued below…


Class Description:
During this six day class students will build a traditional ladderback side chair based on the iconic chairs of Richard Poynor and his family. Parts will be split from a freshly felled log, shaped using drawknives and spokeshaves, and joined through a combination of traditional and modern techniques. Throughout this process students will gain in depth, hands-on experience understanding and working with wood’s natural structure and movement to maximize its strength and flexibility, and will gain perspective on designing and building objects without the need for straight, flat, or square reference surfaces. While most work will be done using a small set of hand tools, Robell and Charlie will discuss options for working with floor standing power tools, and demonstrate processes for using standard, kiln dried lumber for times when whole logs are either unavailable or impractical. Seat weaving with paper cord will be demonstrated at the end of class, and students are welcome to bring their own weaving material, but we prefer to focus on the core skills, techniques, and tools of chair construction while in class together. No previous experience is necessary, students of all skill levels are encouraged to join us.
Tool List:
All tools will be provided for students during the course. If you do have tools of your own that you would like to bring, please see the list below. And if you are interested in purchasing your own, we encourage you to come to the class, try what is available there, and discuss options throughout the week.
Personal Tool List:
- Drawknife
- Spokeshaves (metal bodied, flat and round bottom)
- Folding rule with extension
- Handsaw
- 3/16” mortise chisel
- Card scraper
- Handsaw
- Eye protection
- Ear protection
- Grippy gloves
- Pencils/pens
